Set up L2TP over IPSec VPN in iPhone iOS
In this article, we will show you how to set up an L2TP over IPsec VPN on your iPhone to connect to your MikroTik CHR VPN server, using the built-in iOS client, no extra app required.
You need a working L2TP server to connect to. If you haven't built one yet, set up an L2TP VPN server on MikroTik CHR first and keep its public IP address or hostname, the username and password you created, and the shared secret at hand. You'll type all four into your phone in a minute.
Open Settings, go to General > VPN & Device Management > VPN and tap Add VPN Configuration.
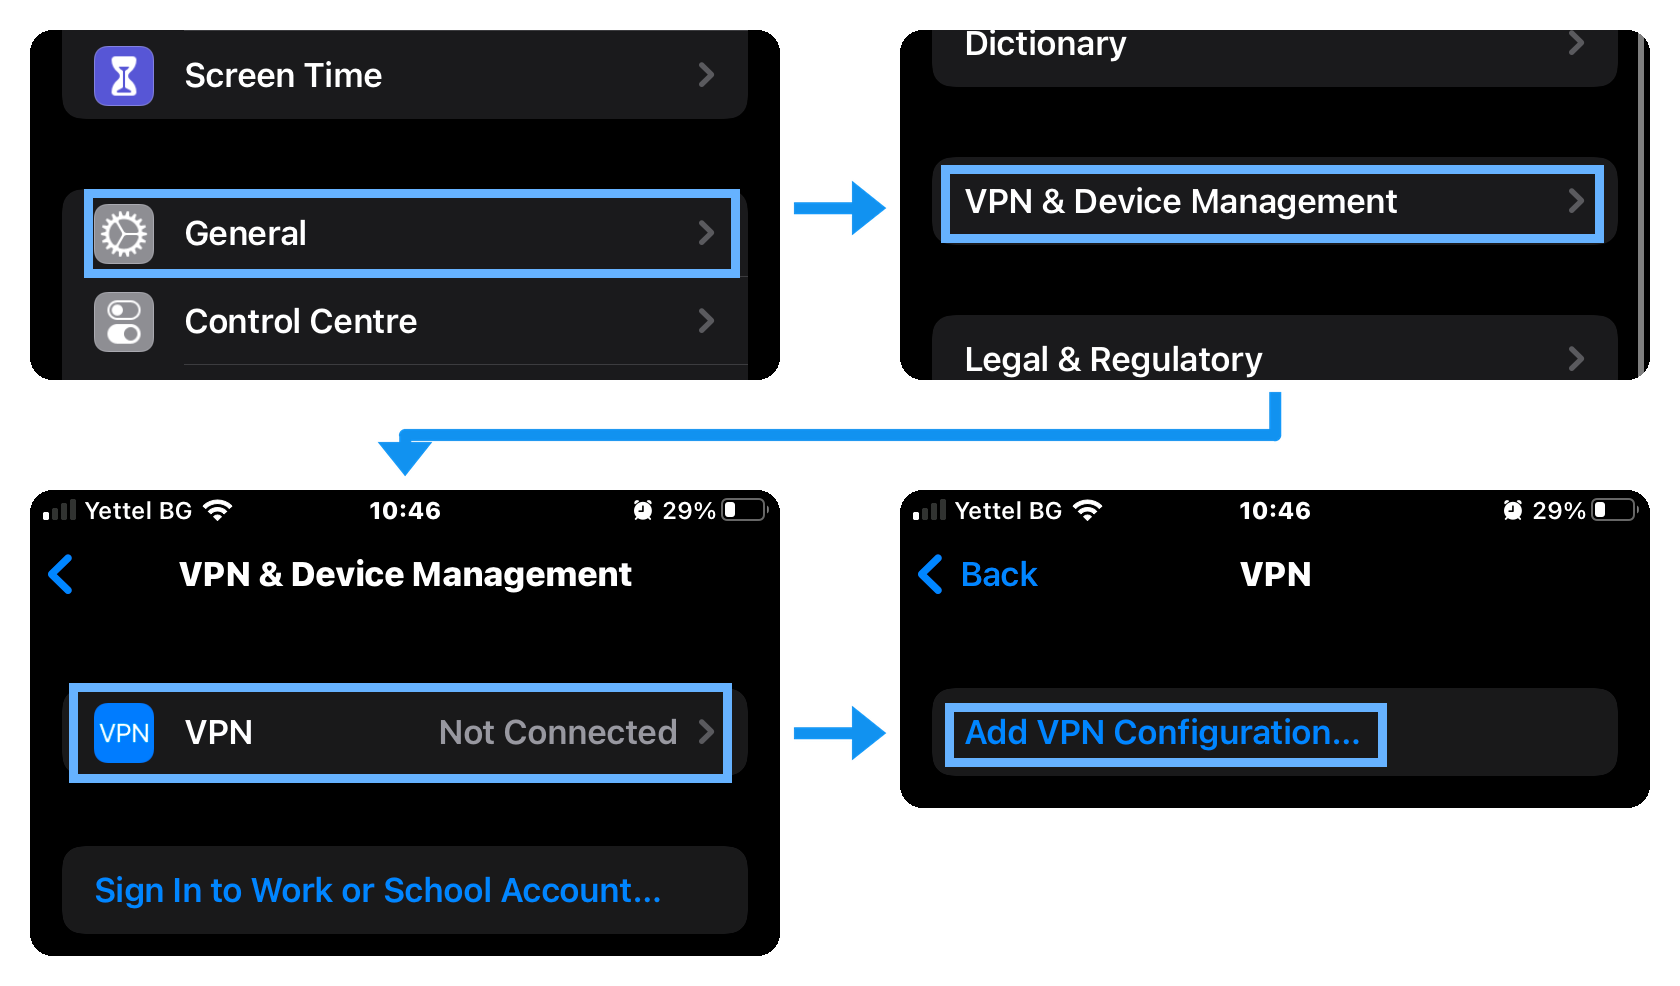
If you already have another VPN on the phone, for example from an app like WireGuard or MikroTik's Back to Home, you don't need to go through General. Tap VPN below Personal Hotspot, then tap Add VPN Configuration at the bottom.
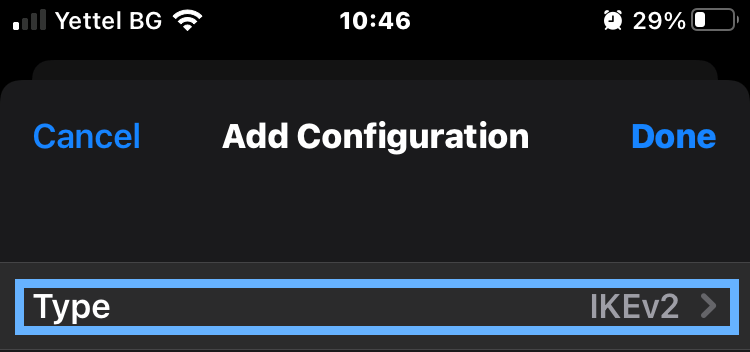
The new configuration opens with IKEv2 as the type. Tap Type to change it.
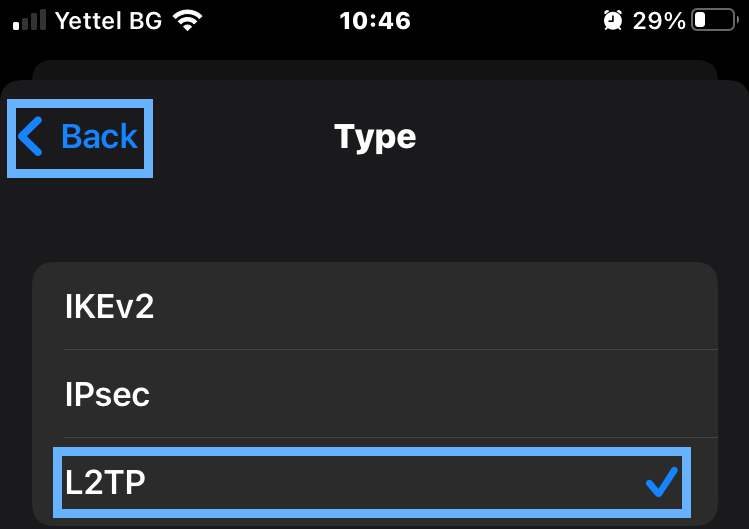
Pick L2TP from the list, then tap Back to return to the form.
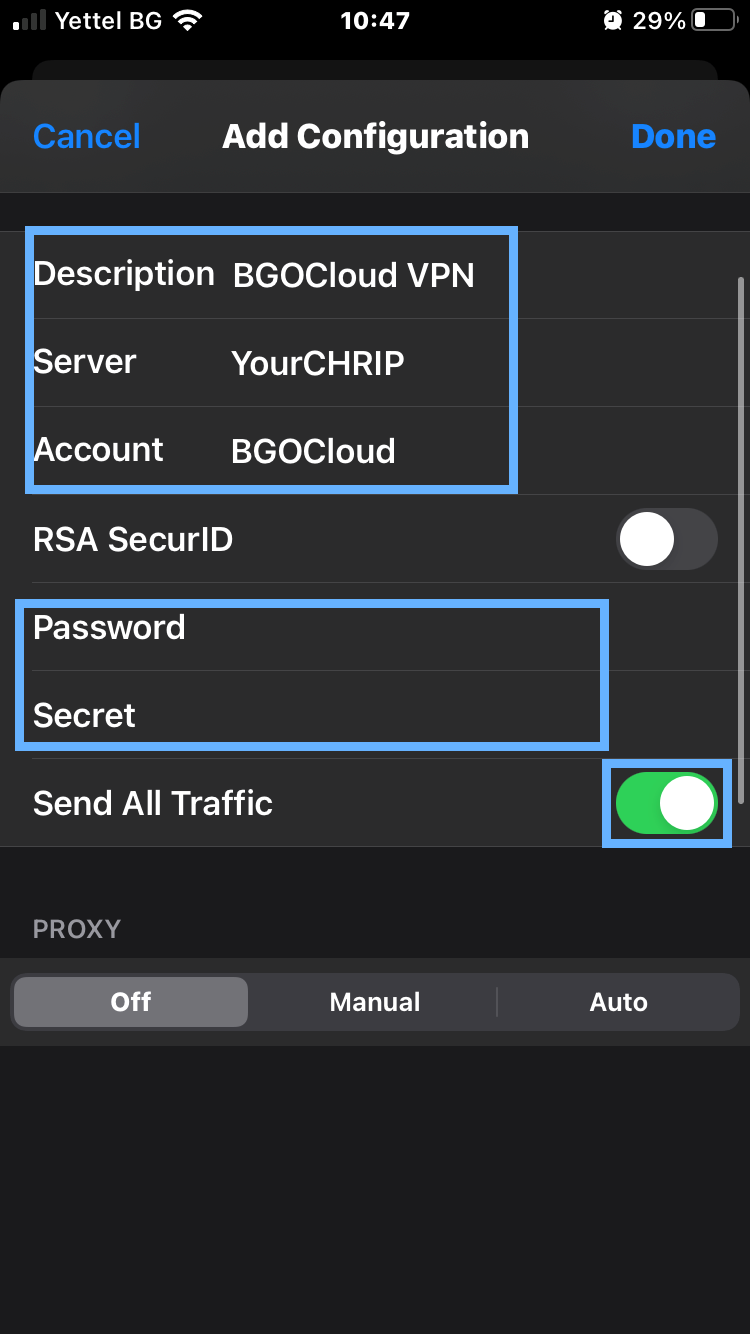
Now fill in the form with the values from your L2TP server:
- Description: any name you'll recognise, for example BGOCloud VPN.
- Server: the public IP address or hostname of your CHR.
- Account: the VPN username you created on the router.
- Password: the password for that account.
- Secret: the shared secret you set on the server. also known as the IPsec Secret in RouterOS.
Turn on Send All Traffic so everything from the phone goes through the tunnel, then tap Done in the top right corner.
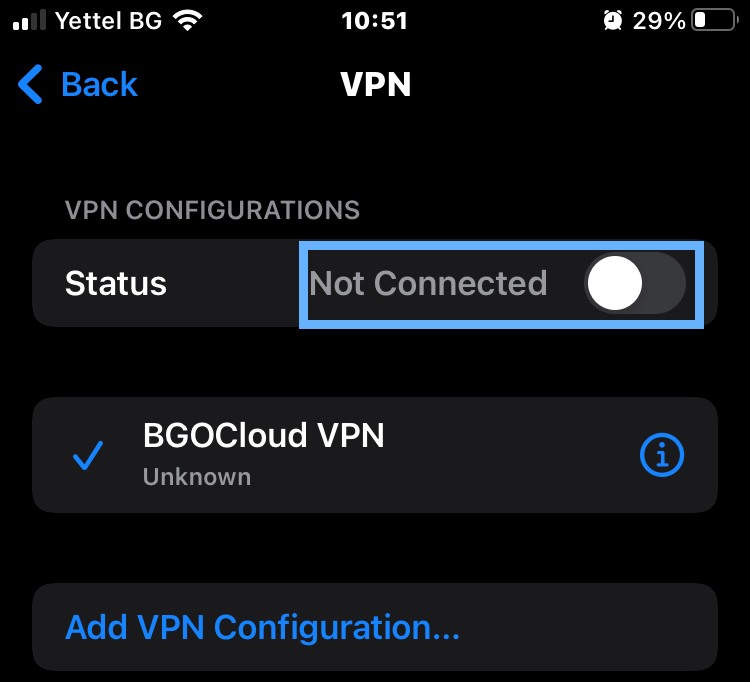
Your new configuration is now selected on the VPN screen. Flip the Status switch at the top to connect.
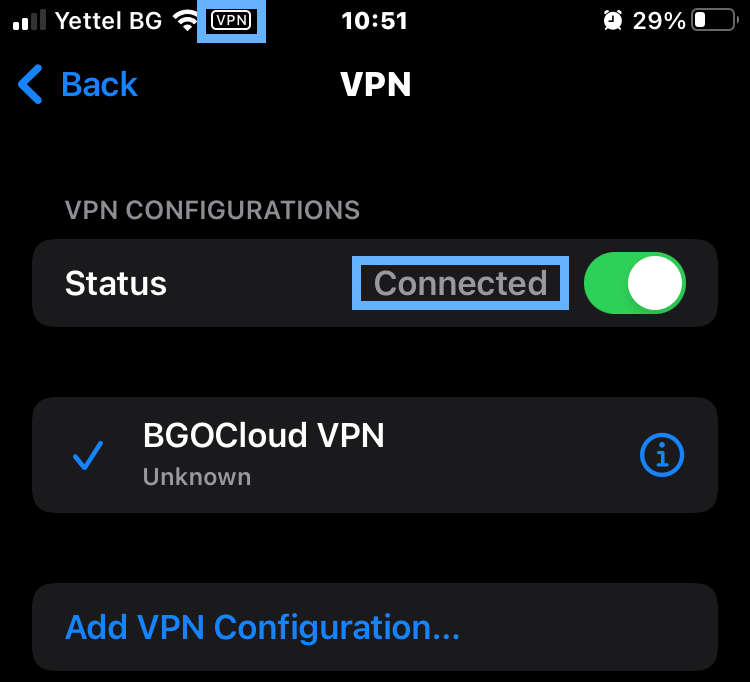
After a few seconds the status changes to Connected, and a small VPN icon appears in the status bar at the top of the screen, next to the carrier name. That icon is your quick check that the tunnel is up and working.
Reconnect later from the Settings list
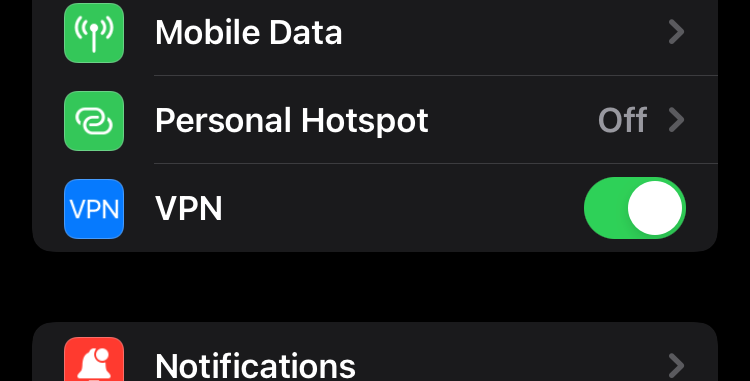
You don't have to dig through General every time. Once a VPN is configured, a VPN switch sits in the main Settings list, just below Personal Hotspot. Use it to turn the tunnel on and off.
If you have more than one VPN profile or VPN app on the phone, tap VPN in that list instead, choose the profile you want to connect to, then flip the toggle at the top.
Set up the L2TP/IPsec server, or connect your other devices:
No server to connect to yet? BGOCloud's MikroTik VPS plans give you a fully licensed RouterOS v7 instance with root access, SSD storage, and unlimited traffic options, deployed in under a minute. It's a ready-made place to run the L2TP server your devices can connect to.
You can also browse our full MikroTik CHR knowledge base for more guides on getting the most out of your router.