
Set up L2TP over IPSec / PPTP VPN client on Windows 10 (+ video)
In this article, we will show you how to set up your VPN client in Windows with PPTP/L2TP over IPSec.
We already have configured the Mikrotik router with L2TP / PPTP server enabled.
We made them in these articles:
How to set-up L2TP VPN Server
How to set-up PPTP VPN Server
Here's a small video explaining the process:
In this article, our MikroTik CHR is with public IP address: 78.142.61.10
Here's how to configure:
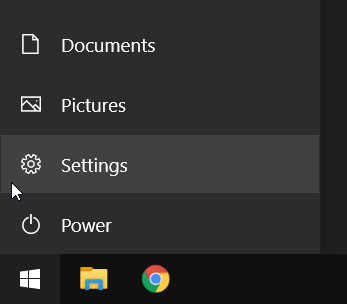
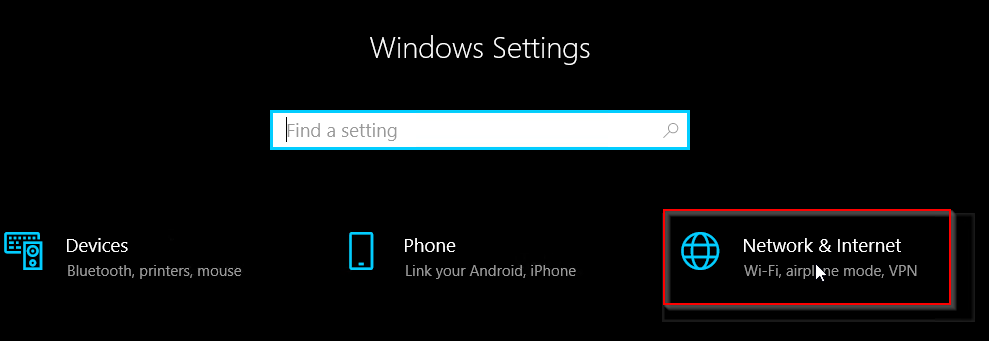
- Open Windows settings and go to Network & Internet.
Alternatively, you can access it by clicking on the network flyout on your taskbar and clicking on Network & Internet settings.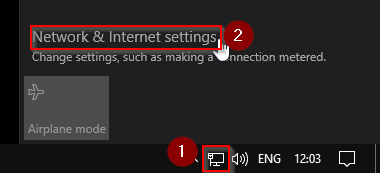
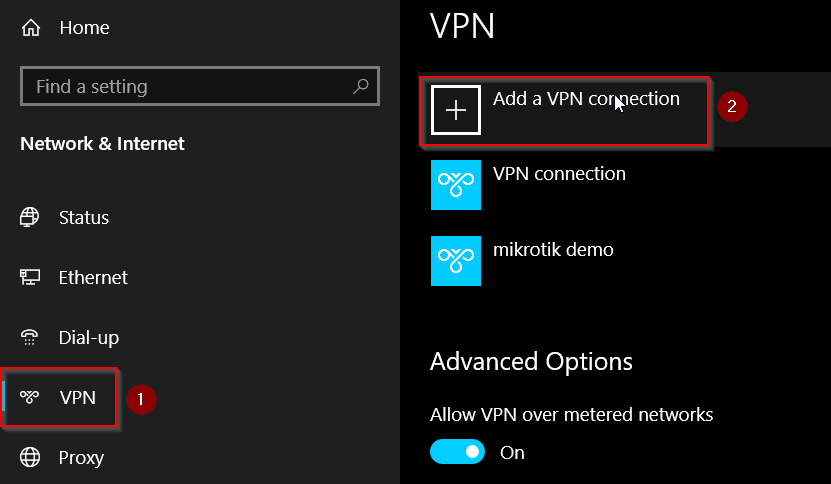
- Click on VPN and then on “Add a VPN connection”
- Select the built-in VPN provider. As VPN type choose L2TP/IPSec with pre-shared key or Point to Point Tunneling Protocol (PPTP) if you configured a PPTP server.
Enter your MikroTik router’s public IP address and name the connection as you like.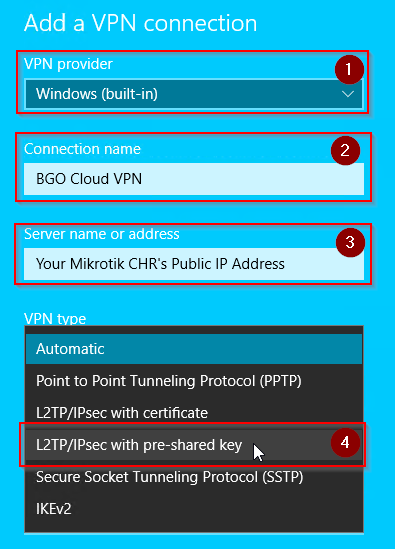
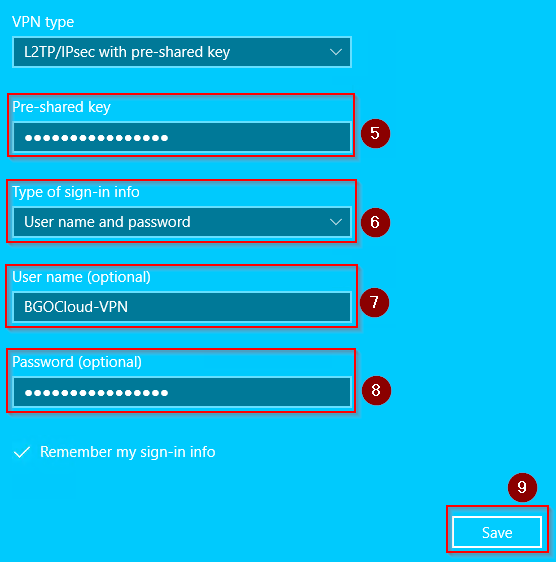
- Set "Type of sign-in info" to User name and password. Then enter your VPN account credentials, the Pre-shared key(if applicable), and click on Save
- We are almost done. To test your connection, click on your newly created VPN connection and click on Connect.

- If it shows "Connected", then you have connected to your VPN server successfully.

And that’s it, you can easily access the VPN connection later through the Network Flyout.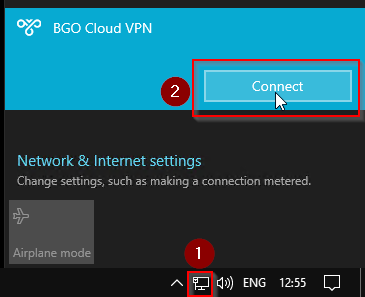
Please take a look and choose your hosting solution.
You can decide to make your VPN or rent a good and cheap dedicated server.
We have a tremendous and reliable Webhosting service.