
How to Make a Website With Wordpress
WHAT IS NEXT?
Log in
Before you jump into making any changes and customizations, let’s first go through your WordPress website and see what it has to offer. Once you explore it in-depth, you will find it easier to personalize it and make it look more like your own. Our instructions will help you understand how to add a new WordPress post, store it into preferred categories or tags, insert images, attach video and sound, manage comments and more.
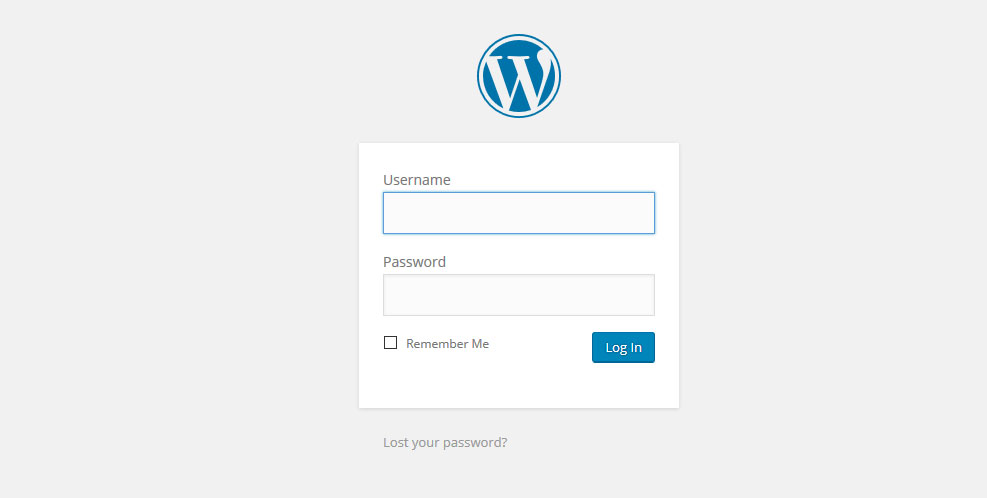
First things first, you have to log into the back end (also known as administration area) of your site before you do anything else. Visit your site’s login page by writing “wp-admin” after your domain name -> http://example.com/wp-admin After that log into WordPress using your preset username and password.
Begin from the top
The Dashboard (or the Administration Screen) is where the magic takes place. It is the information center which offers different links to start constructing pages or writing posts; it presents with statistics and links on the number of created posts and pages; and shows categories as well as tags. The dashboard is not only where you start organizing and designing you site, but also where you will be enabled to experiment with writings, edit them, play around with multimedia, express creativity, and, above all, outline the most attractive and interesting website out there.
Take your time and try not to rush things
Dedicate enough time to explore and look around the site, its components, design elements, features, bars, sidebars, footers, sections and other menu items. It is of great importance to see the overal layout in order to know what to expect and to find out how it works. Consider the test drive before you start modifying or adding on features.
How to create content and make wordpress posts?
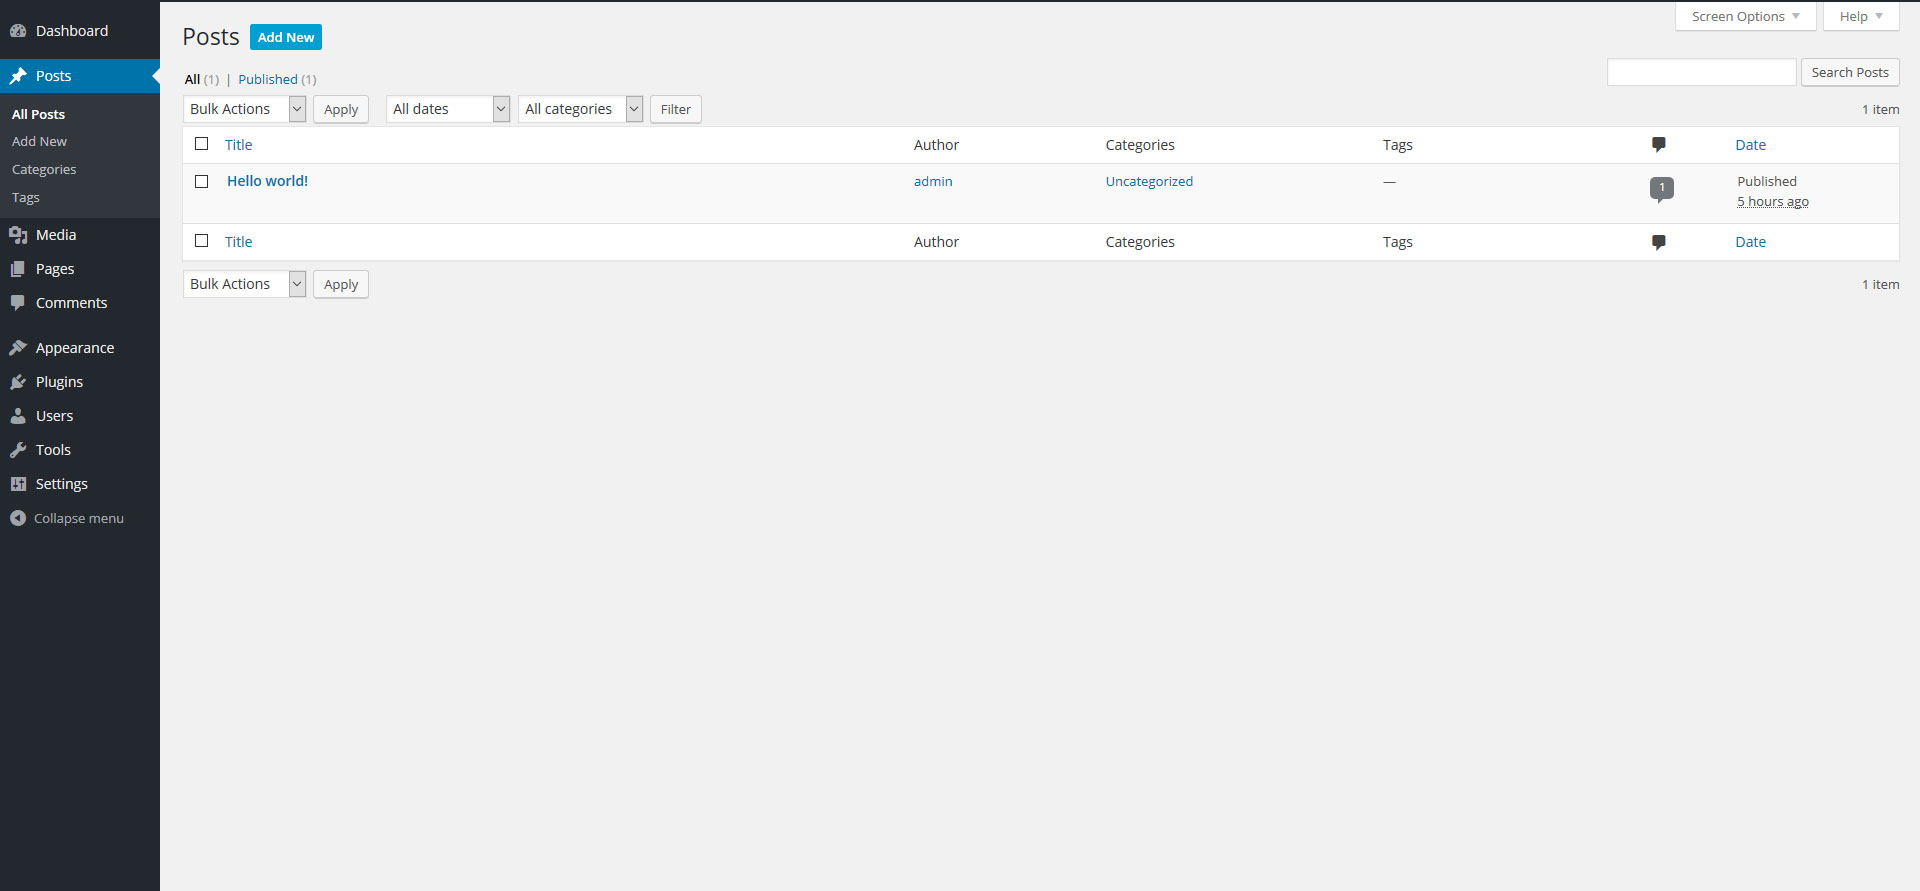
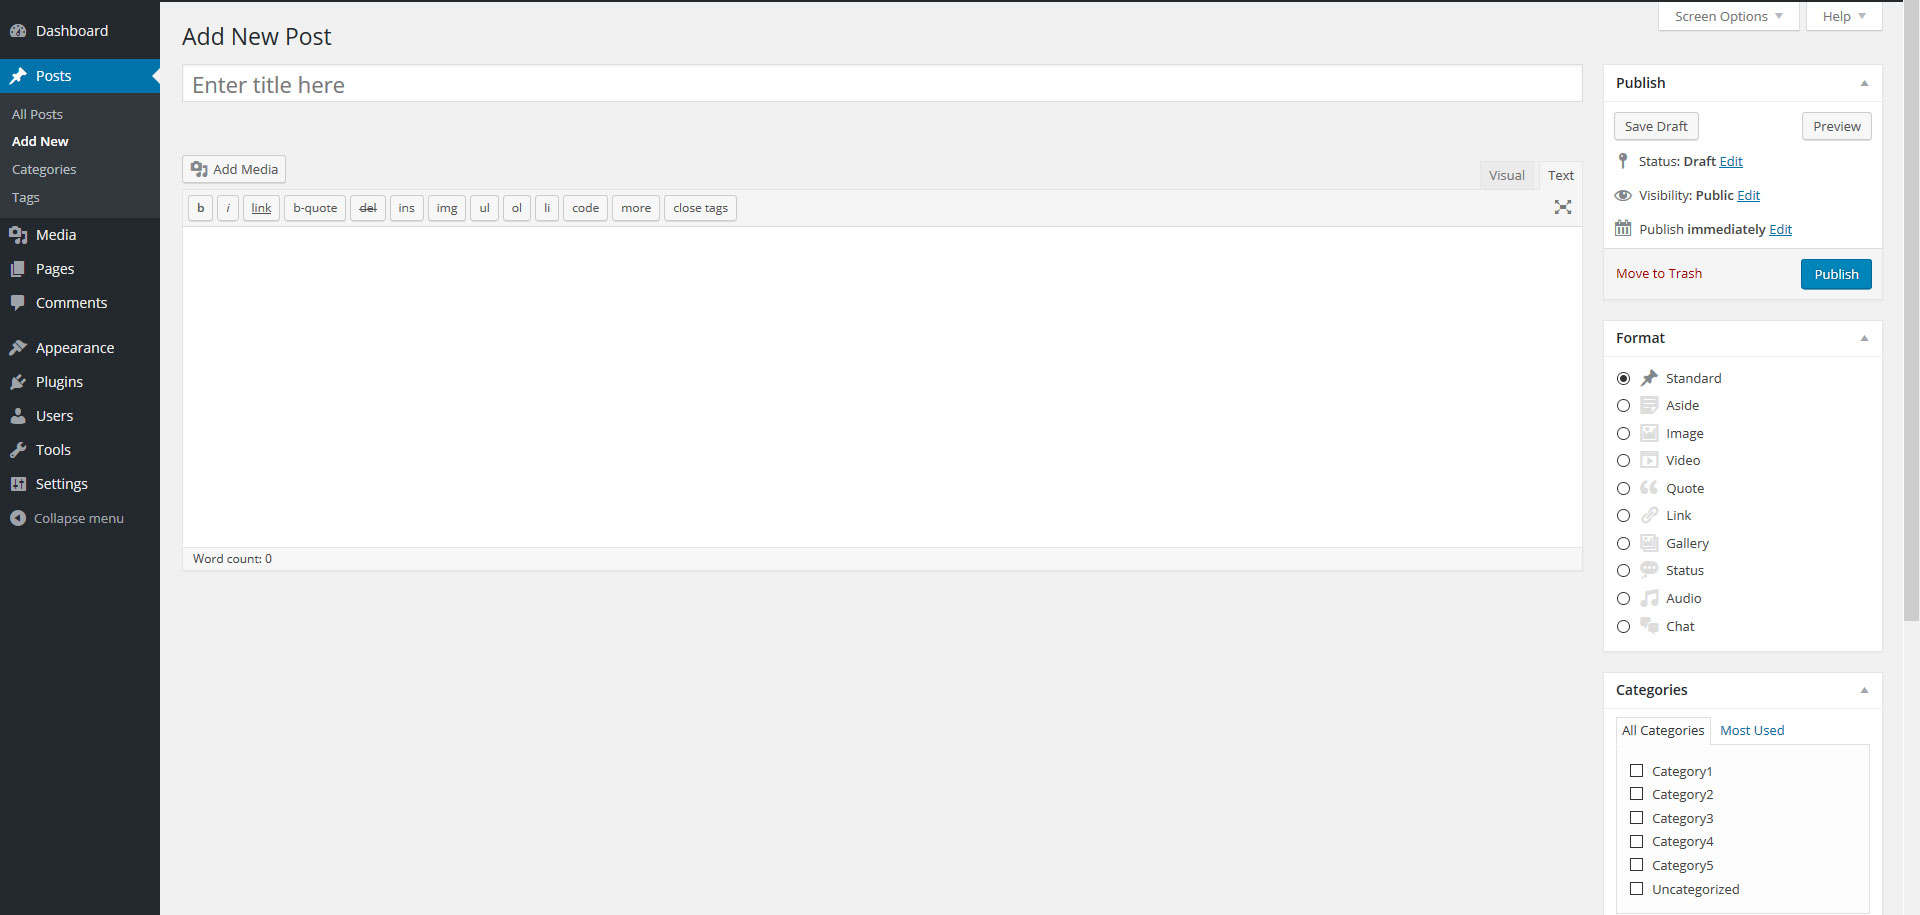
It’s simple. First you have to login to your Administration Screen, and in the navigation menu on the left, click on Posts. To create a new one, choose Add New. A screen will show up where you can start writing your piece.
Before you click on New Post, you will notice there are several sections:
- All Posts – this screen allows you to select the Post or Posts (multiple posts can be selected) you wish to edit, delete, or view.
- Add New Post – This is where you can put your writing abilities and creativity into practice. While you write, you can also create new Categories as well as new Tags, and you can add media files too.
- Categories - Every Post in WordPress gets filtered in relating to its Category. In other words, Categories classify you Posts into groups and subgroups, depending on their topic, subject or intention. You can remove, add, review and edit any category.
- Tags - These are the keywords you highlight in each post. You can remove, add, review and edit any tag.
When the window for the new post opens, you will see that you will have to add title and content.
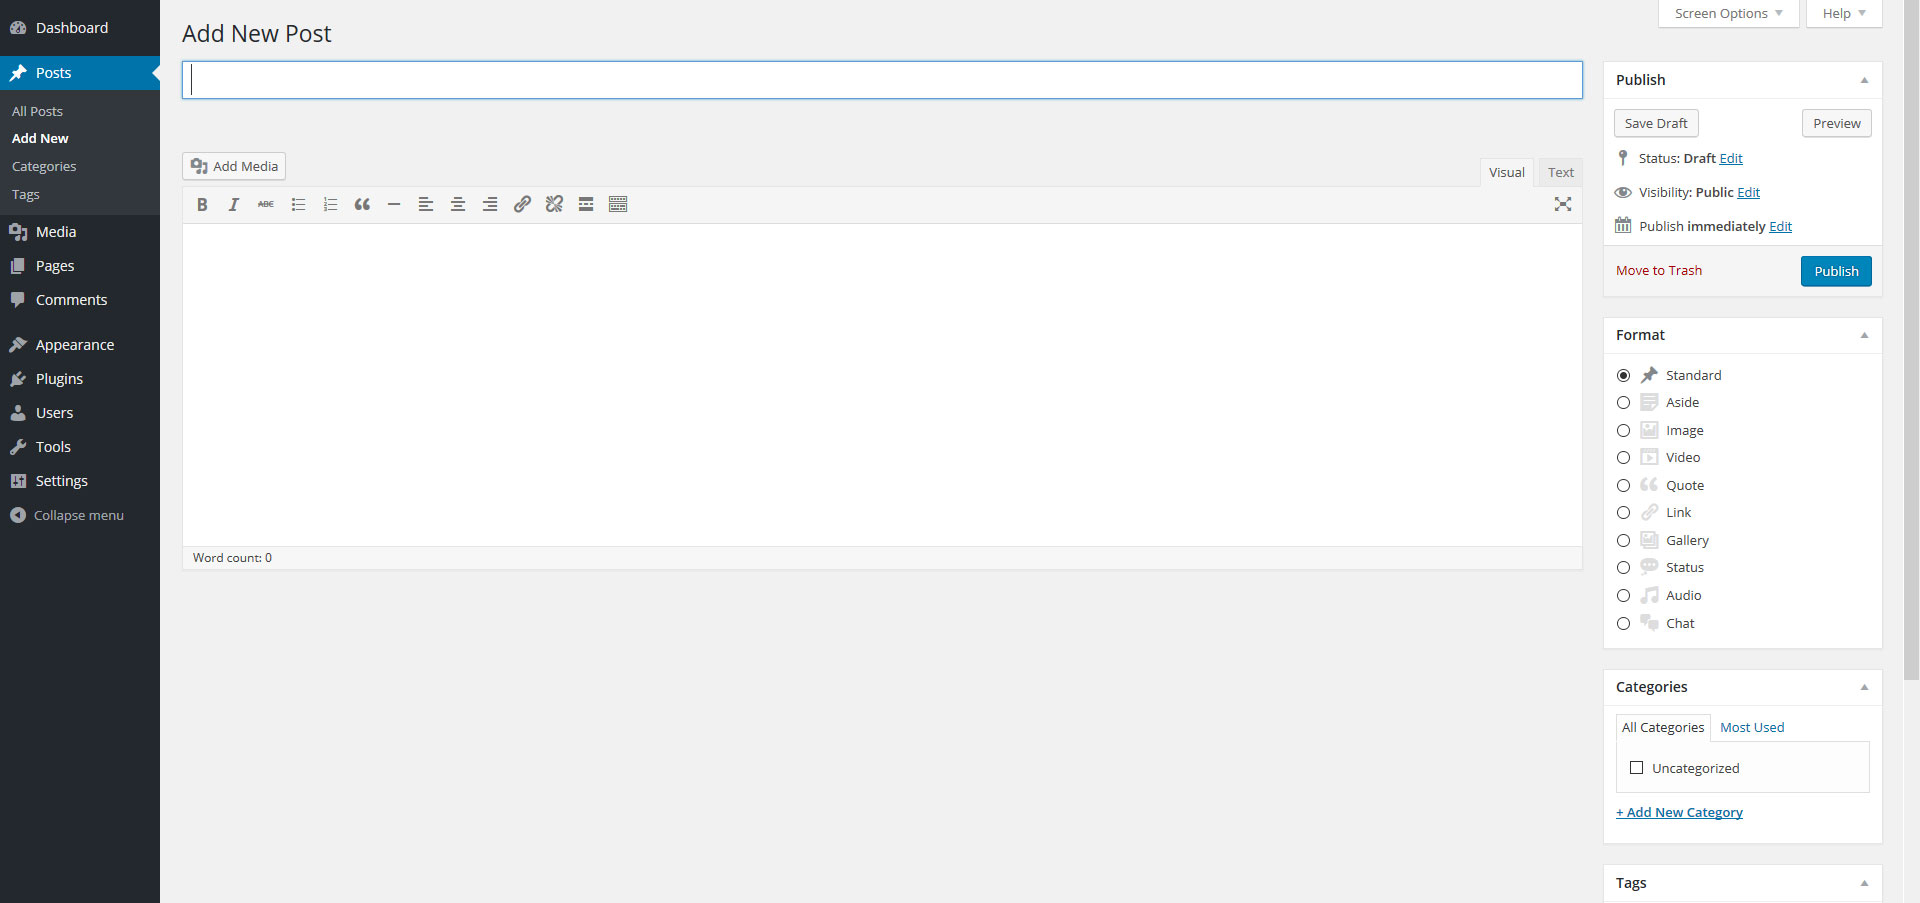
Once you are done with writing your content or placing your text, you can save it as draft for later, schedule it, review it or publish it right away by pressing the Publish button. When you publish it, this will bring your article to your website and readers can see it. You can still edit the post, once it‘s been published.
That’s it! You now have your first official post.
IMPORTANT: If you don’t want to publish it right away, make sure you save it as a draft so that you can move on to the next steps and see how you can experiment with it and add new features.
Adding multimedia to your wordpress post
Adding images, videos and music to your post can make it more interesting, more engaging and more appealing to the reader. Open the post that you have already created and saved. Click on the text where you want to add an image, for example, and click on the Add Media button in the top left part of the editor.
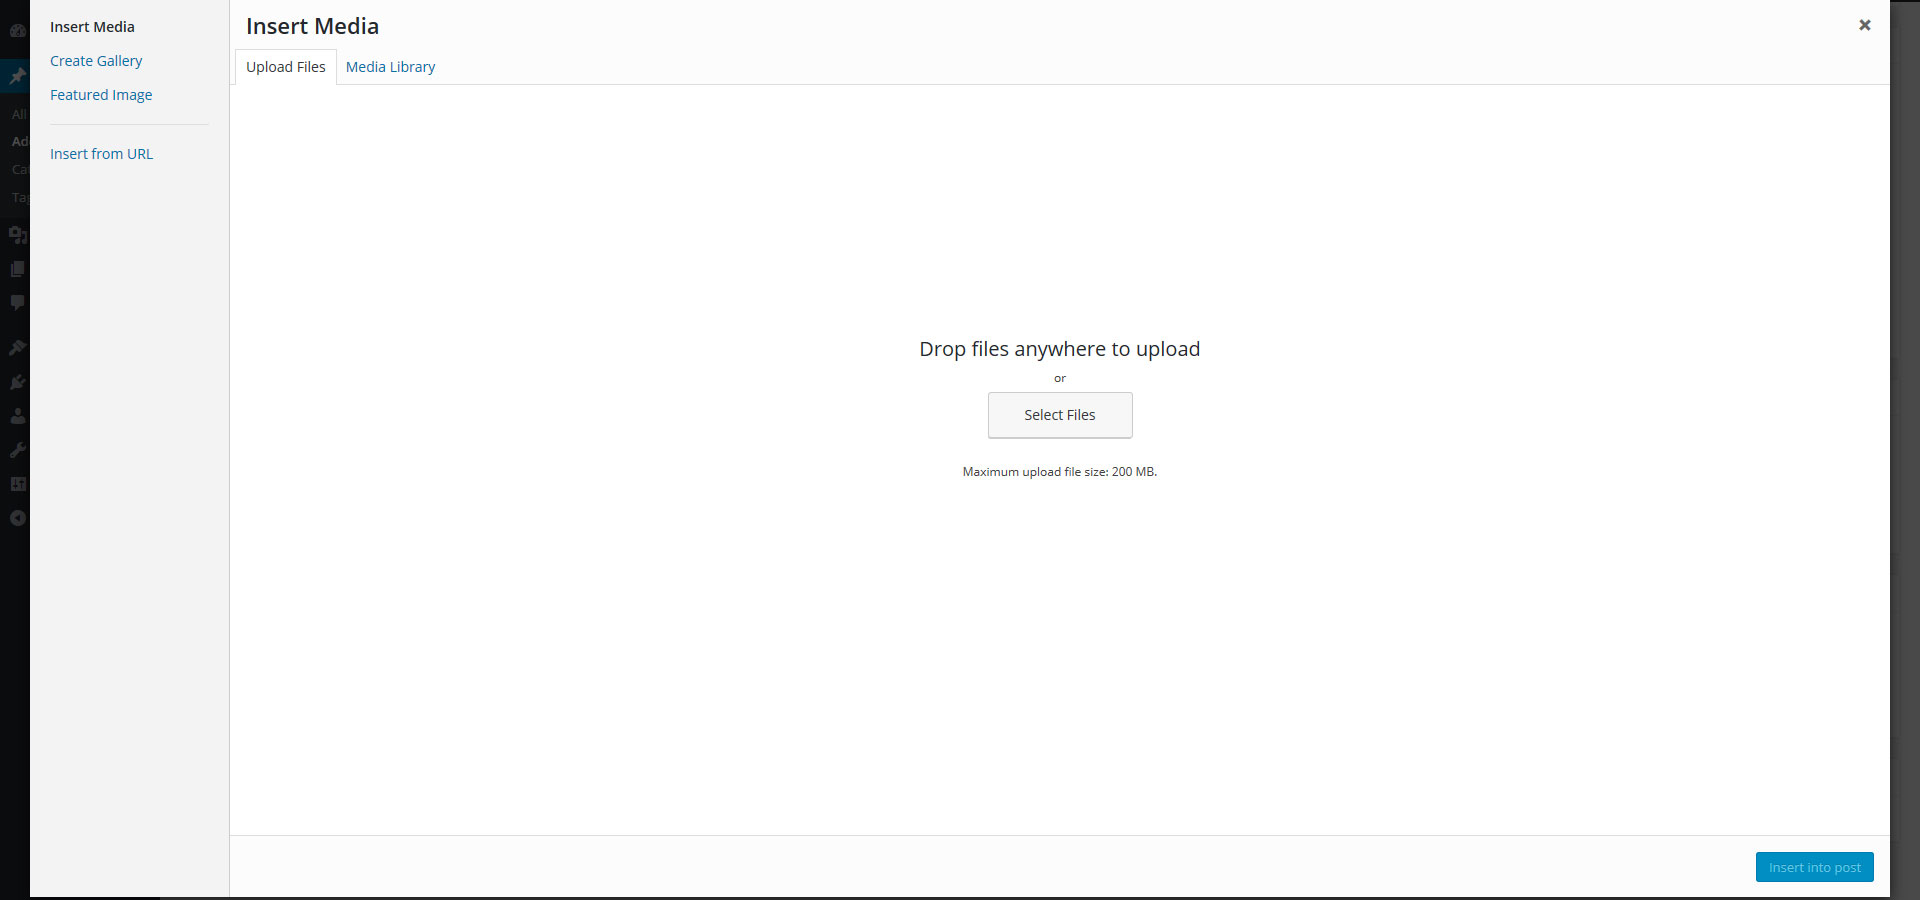
A new window will pop up designed for you Media. Press the Select files button in the middle of the screen.
When you do that, you will be presented with an option to select from your files and upload it as media. Remember that you will have to describe the image itself - enter its Alt tag, title for the link and a caption (this is optionally and will show up under the image on your front end).
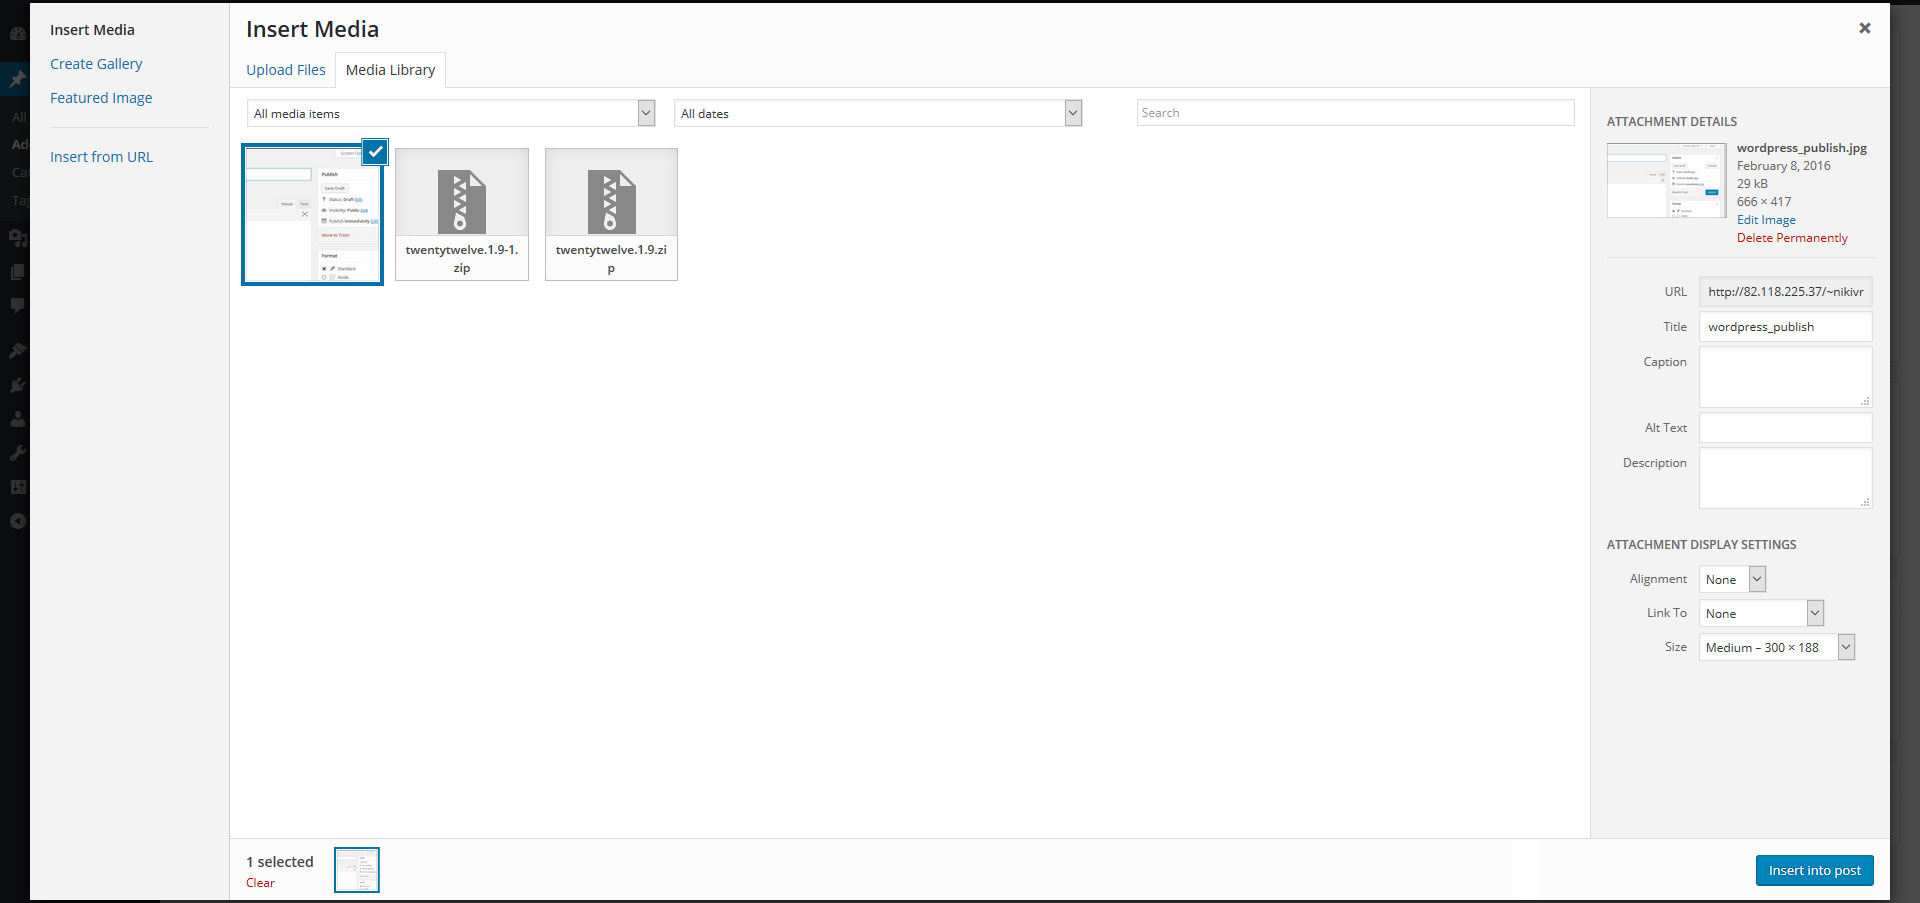
After that, you will have to clarify the attachment settings of the uploaded image:
- Alignment - How to align the image in your content.
- Link To - Select where to link the image to - the full size image file, the media page automatically created for each new attachment, custom URL or you can choose not to link it at all.
- Size - WordPress creates multiple copies of the uploaded image in different sizes. You can select from thumbnail, medium sized image or the entire image to be added to your post.

Once you enter the information for you photo and choose how to visualize it in your post, press Insert into post button. This way you will be able to see the image in your editor window. Finally, update the post and go to the front end of your site to see how it looks when it‘s ready.
You can add music and videos by following the same methodology.
Putting links
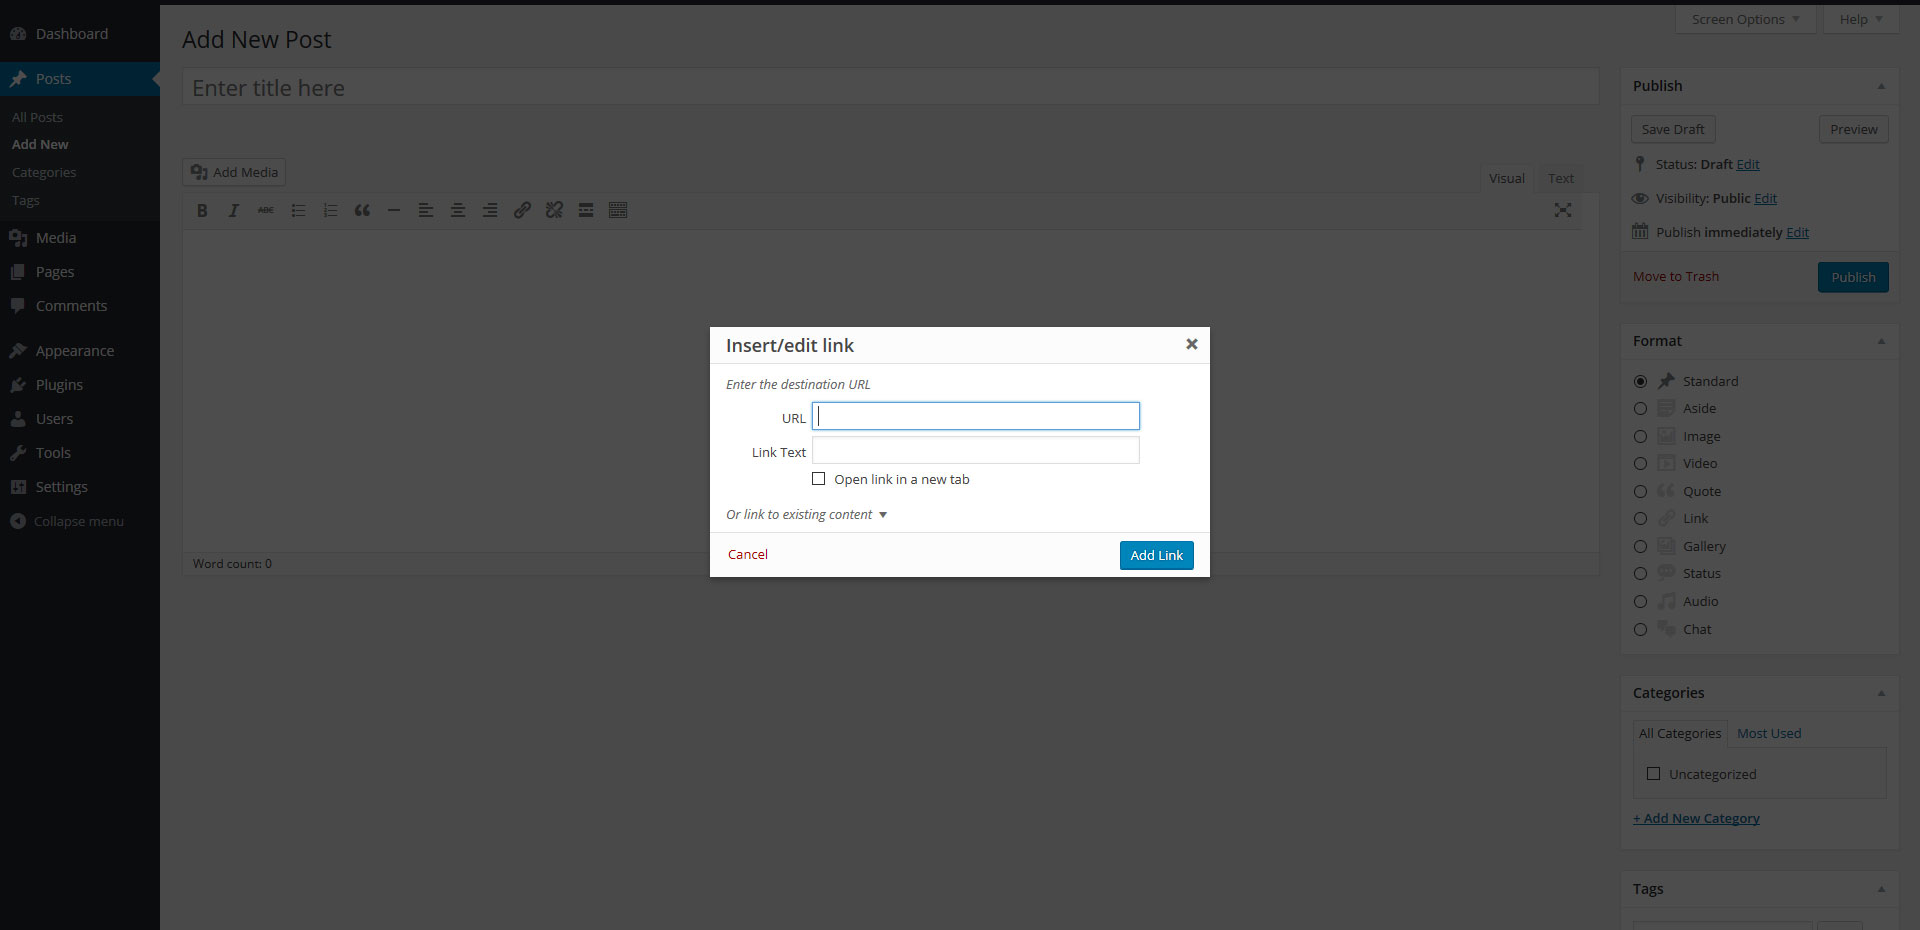
Your content may be well-written, interesting and capturing the latest news or most searched-on-the-web topics but without external links it may look too vague or plain. WordPress allows you to reference to other sources in order to keep your readers more engaged. Use the WordPress Add New Link option to integrate links to other websites.
Using wordpress categories
Using categories helps you organize and categorize your posts. But you are not limited to apply just one category to your post. It can arrange it into several categories. WordPress gives you that flexibility!
To create Category, you have to access the Posts -> Categories page first.
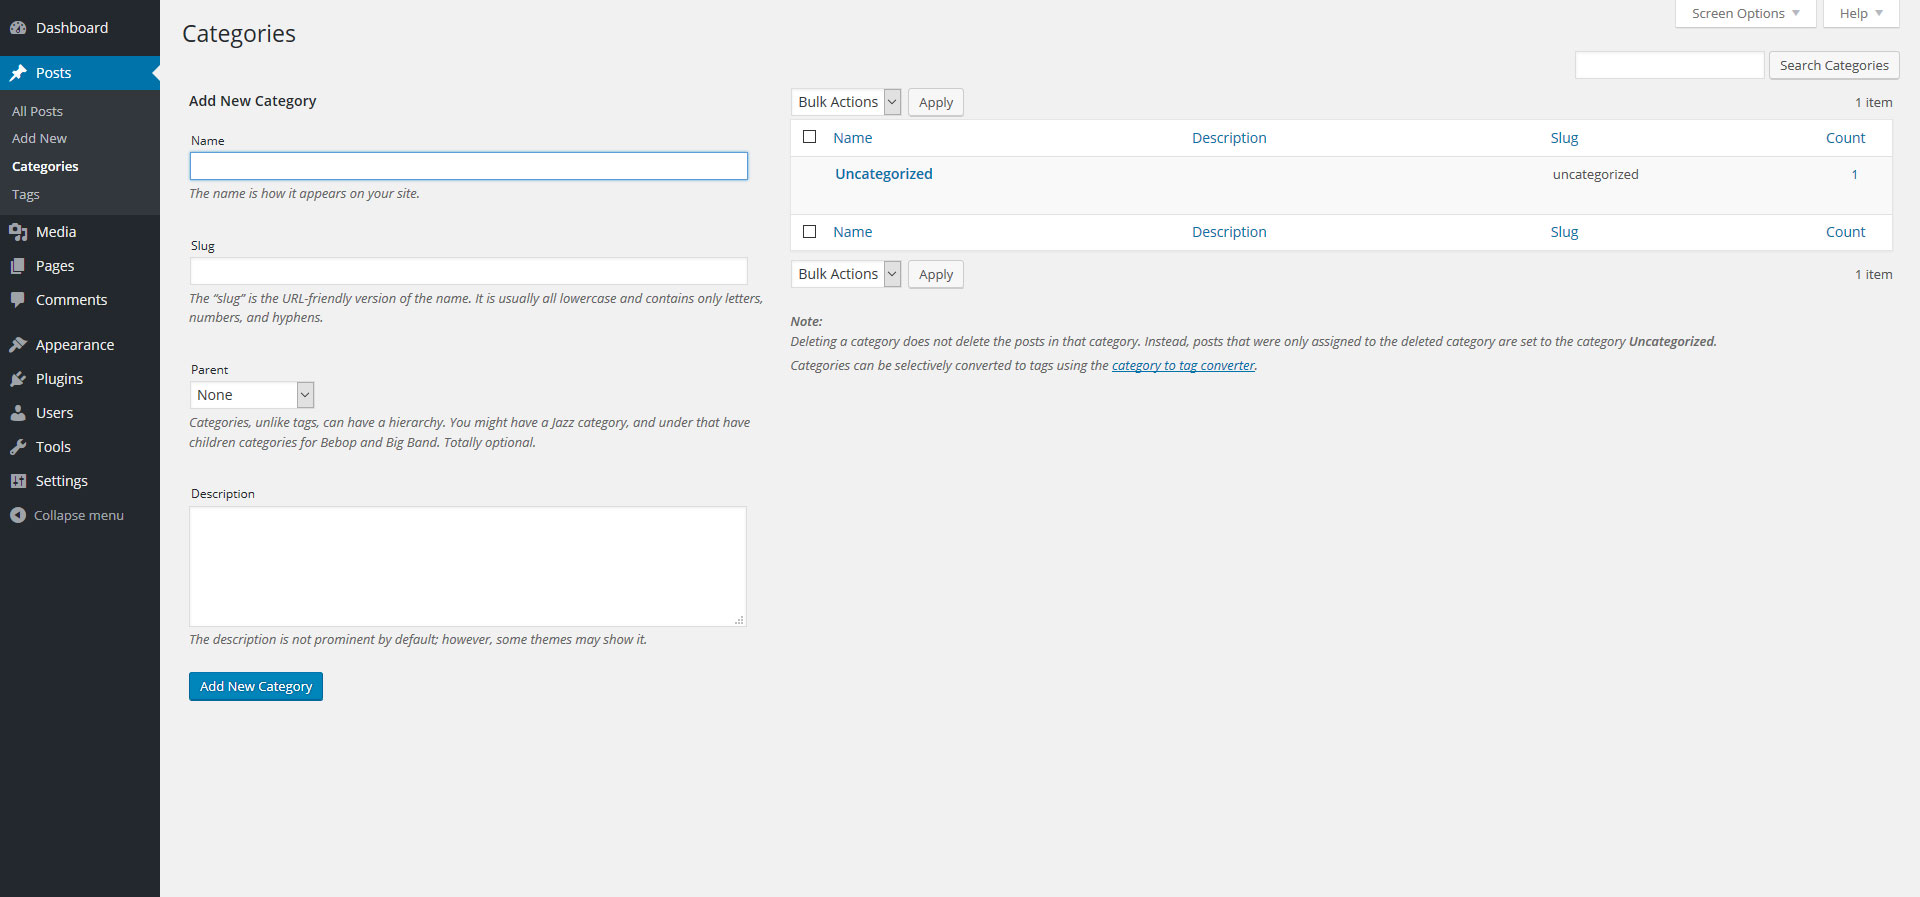
A new window will pop up where you will be asked to create new category and fill in its name (Film, for example), its slug which will be used in the category URLs. Then click the Add New Category button.
Now your category is ready! To create a subcategory (Comedy, for example), insert a name and slug in the same way you did before with the main category, but this time select Film posts as parent for the new category. Then, click on Add New Category button again. Done! Your subcategory is saved.
Now we will move on to the next step where you will select a category for your post. You can do that in two ways.
- Open a particular post (or write a new one) and place a checkbox in the category you want to assign it to.
- Bulk add posts to a category. You can do that by clicking on Posts and then selecting All Posts (Posts -> All Posts). After that you will have to choose the posts you want to add to a category. You can do that by pressing the Bulk Actions tab, choosing Edit and, lastly, clicking on the Apply button.
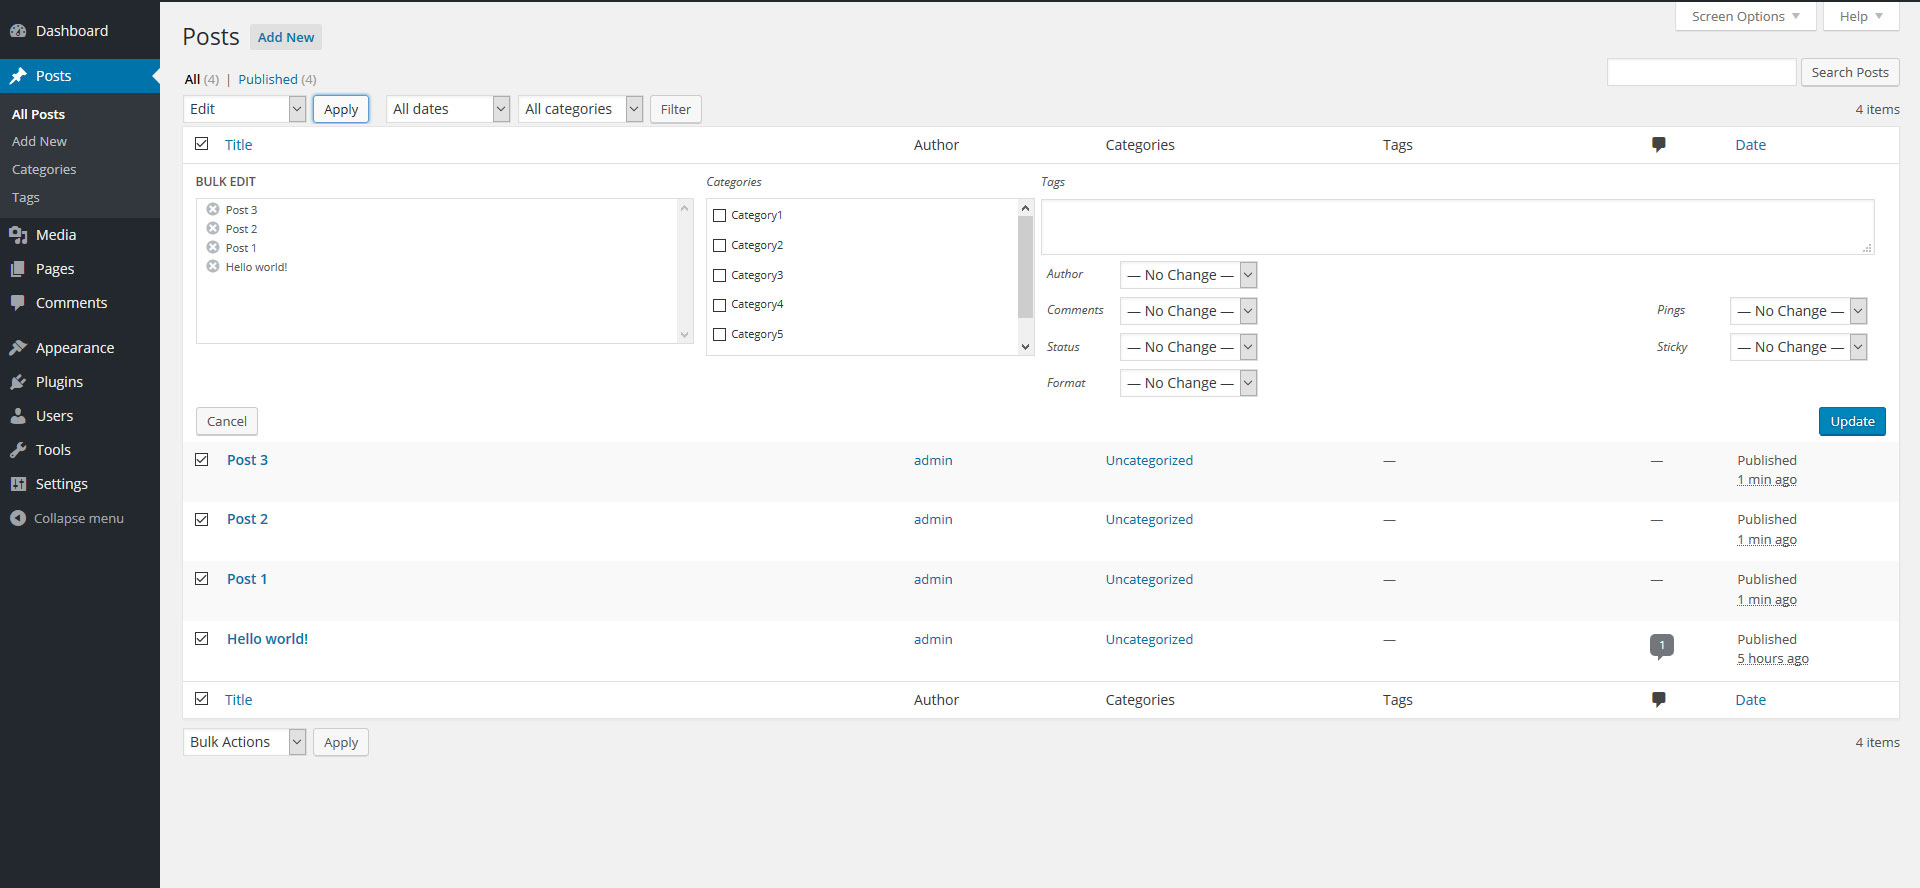
Finally, from the Categories section, select the category you want to add those posts to and press the Update button. That’s it. Your post now is placed within a specific category!
Managing wordpress comments
Readers want to comment on articles and posts so it’s important to enable comments on your WordPress website as well. It’s a great way to leave venue for discussions and find out what people think about the content and information being provided. The way your comments are shown on your site depends on your WordPress comments settings as well as the theme which you have chosen to apply and use.
- What are pingbacks?
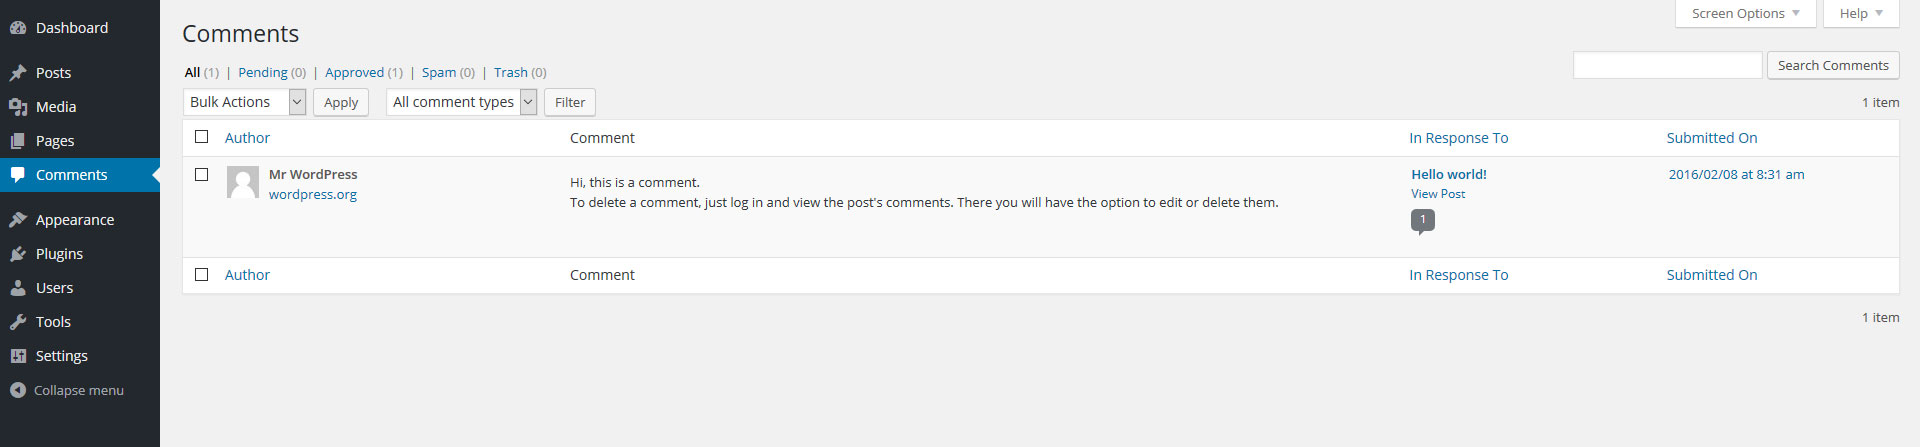
A pingback is sent to you when people cite or use your blog post and link back to you. This is useful as it allows you to keep track on who is linking to you. Moreover, it is a useful way to acknowledge authorship.
In addition to this, pingbacks are placed in the Comments section of your admin panel. They are listed among the rest of the comments, but the anchor text of the link to your site is in square brackets in order to distinguish pingbacks from regular comments.
- Configuring comments
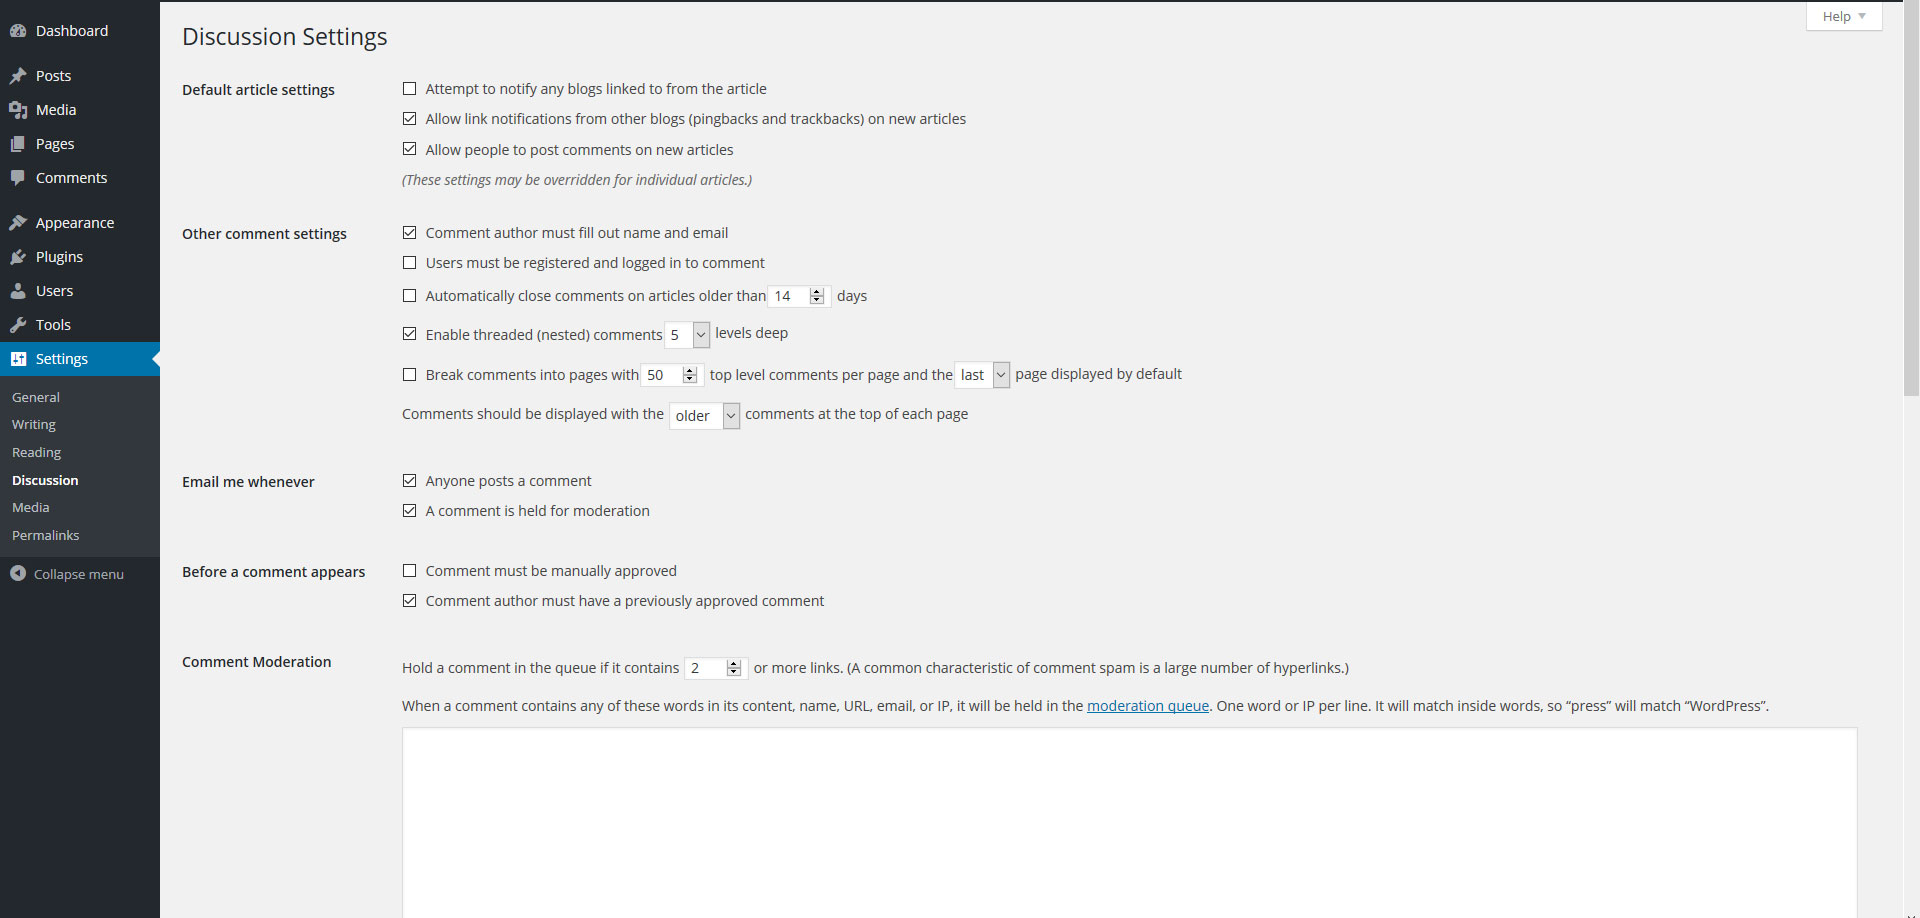
The settings for your comments can be found under Settings -> Discussion tab in your WordPress admin area. There are several key settings which you must set in accordance to your preferences:
- Allow people to post comments on new articles;
- An administrator must always approve the comment and Show Avatars.
- Protecting comments from spam
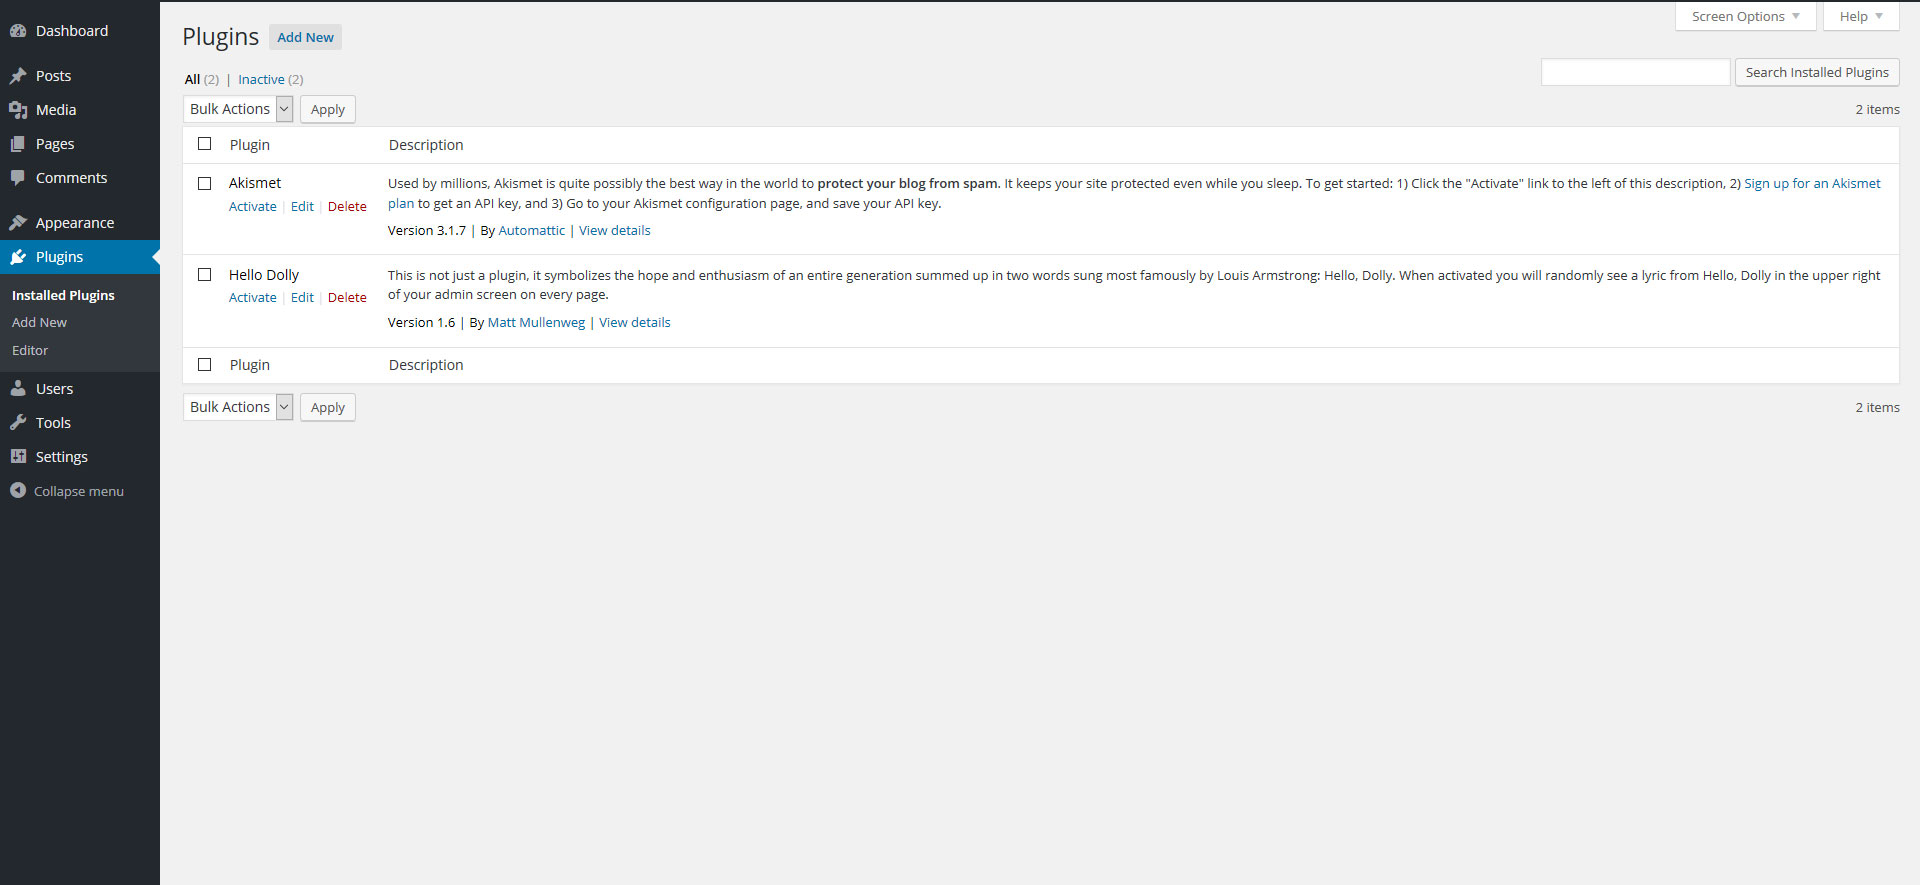
Do that by setting up Akismet for your WordPress website from the beginning. Spam can be a huge problem and very often bots try to flood website with bogus comments which contain links to their sites. Akismet consists of a database of known emails, IP addresses and username used for sending spam. When a visitor of your website submits a comment, Akismet reviews it and puts it in a Spam folder if necessary. You can download Akismet from Akismet website and press the Say Goodbye to Comments Spam button.
You will then receive a key which you will have to enter on the next page in a box. Next, follow the instructions there to set an account and you will be ready to go.
- Disabling comments
In case you want to disable the comments for a specific post or a whole page, you have to open the post/page itself and scroll down until you reach the Discussion tab. There you have to uncheck the Allow comments and Allow trackbacks and pingbacks.
Customize your wordpress the way you want it
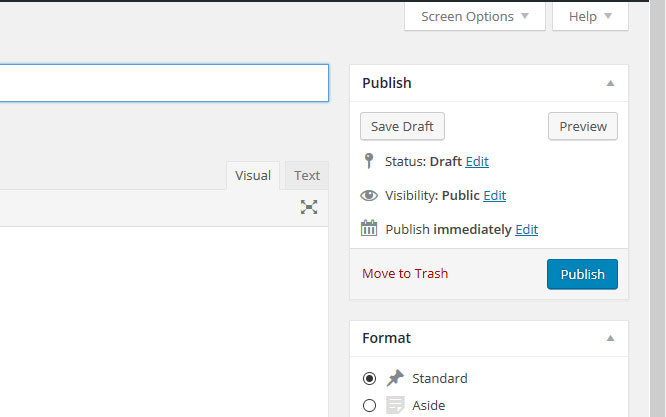
Dashboard is the first thing you see when you enter WordpPress. It contains different features and gadgets which navigate you and provide you with information. You have the option to customize and configure what information you want to appear on your WordPress Dashboard. Do that by pressing the Screen Options button placed in the top-right corner of your screen. It will expand a panel that will allow you to check and uncheck various information blocks that you want to see or hide.
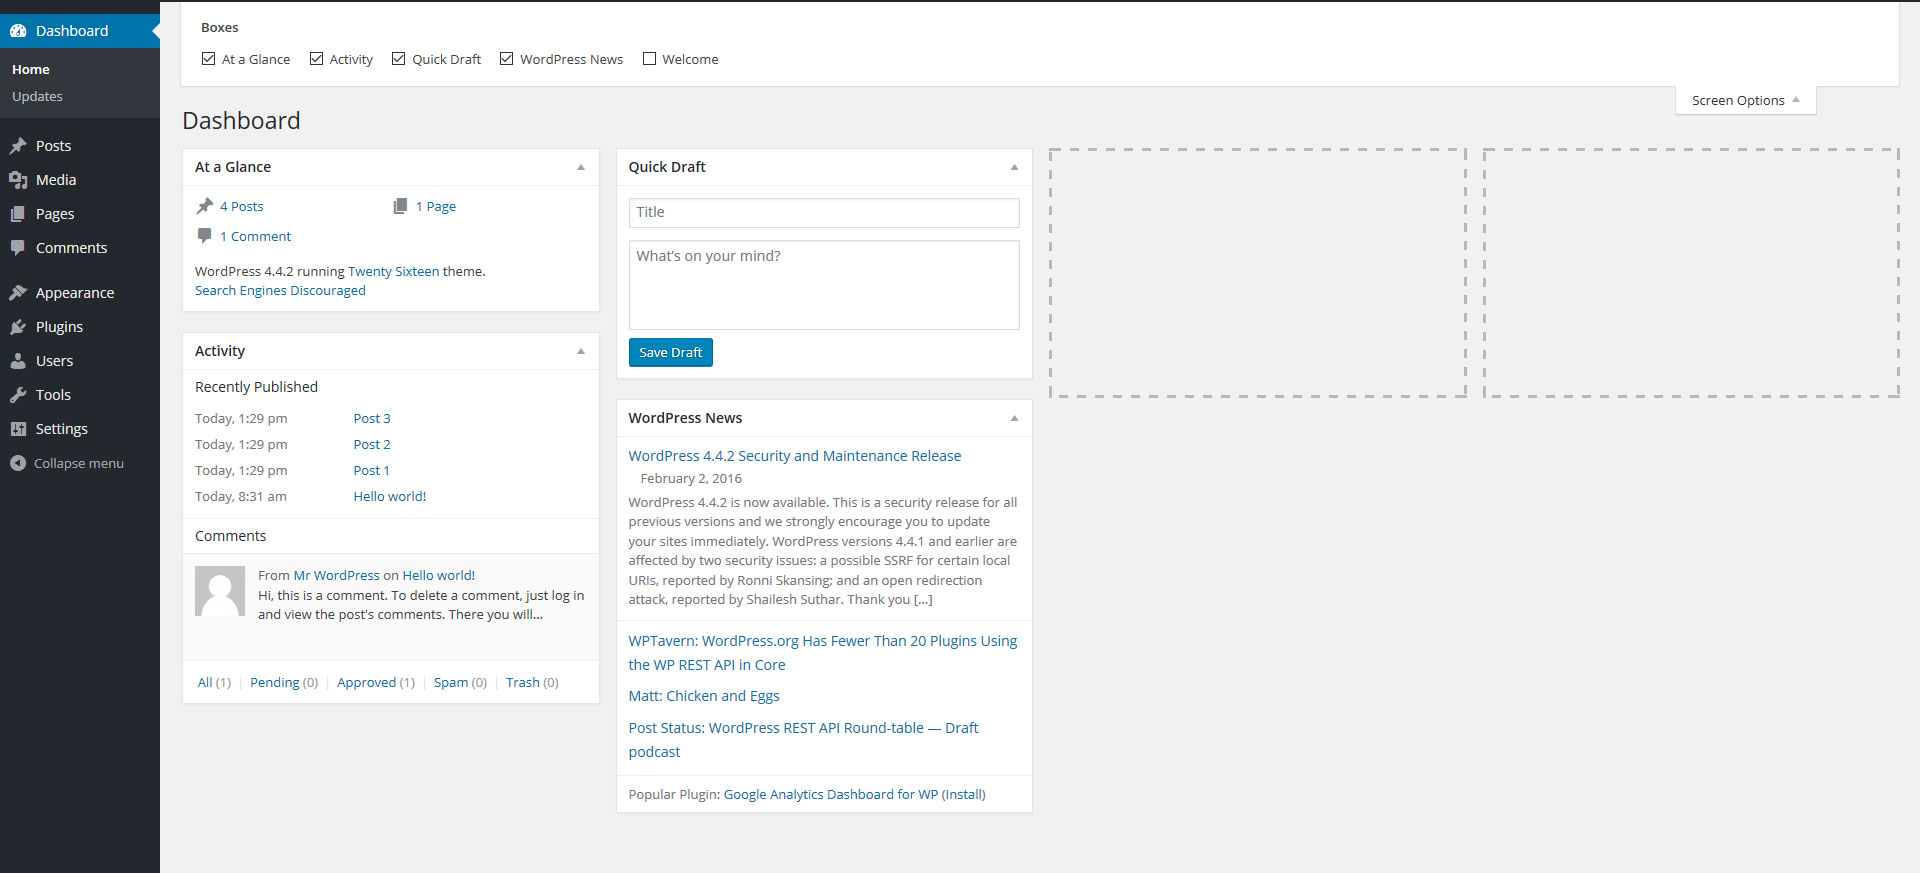
Once you have selected what features you want to be displayed, you can rearrange or reposition them by drag-and-dropping them around your screen. Bear in mind that WordPress version 3.8 makes your admin panel responsive. Respectively, depending on the size of your display you will see different number of available columns for your widgets.
Finally, when you install different plugins, some of them may offer additional Dashboard gadgets to use. Those can also be displayed or hidden from the Screen Options panel.
Adding banners to your wordpress website
Advertisements and advertising have a huge impact on websites, therefore it has become a common practice for a lot of people to choose to place banners on their sites. There are two ways to do this.
- If your theme supports widgets, go to Appearance -> Widgets. Then, drag a Text widget to the appropriate widget area. Finally, paste the banner code in it, write a title for the widget (that's optional, so you can leave it empty if you decide to) and press the Save button.

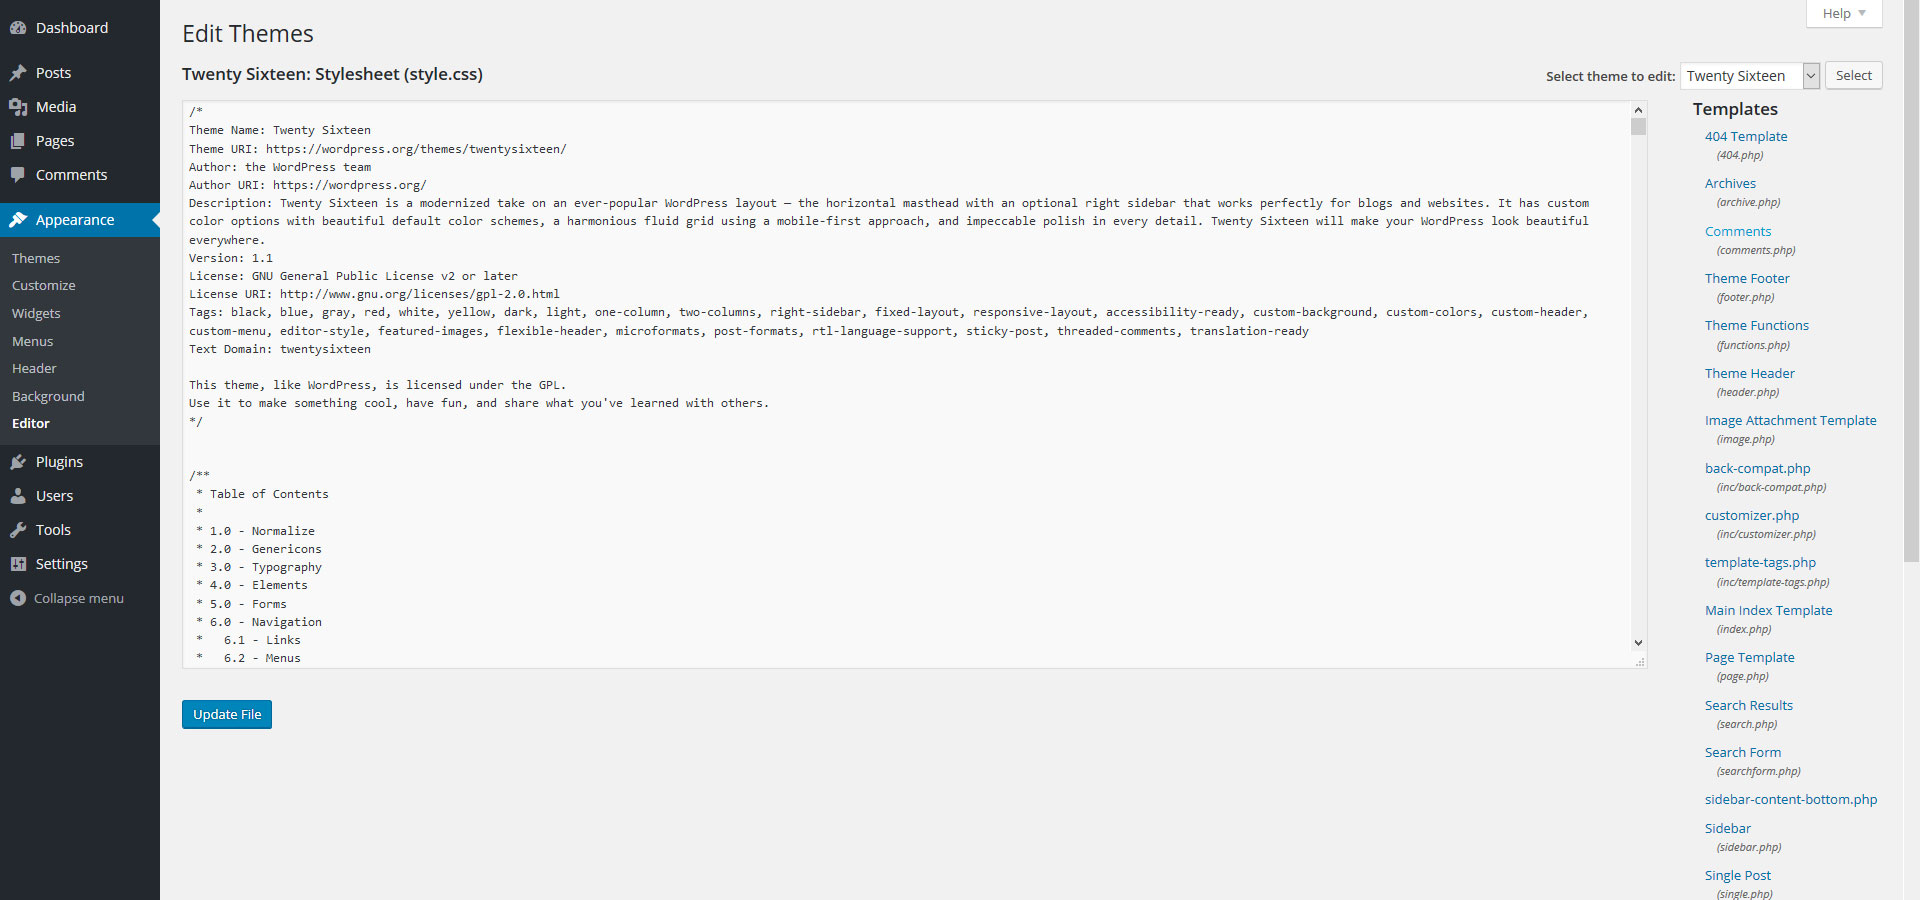
- If your theme does not support widgets you can add banners by writing your banner code into the sidebar.php. This file can be edited by selecting Appearance -> Editor in the WordPress admin page.
- Adding banners into a single post/page
To do this just go to the Text mode of the WordPress editor and put the banner code in it. And the banner will appear between the two sample paragraphs of the selected post. If you want to reposition or align the image of the banner, use the WordPress WYSIWYG editor.
- Adding banners above or below all posts/pages
To do that, you will have to insert the banner code inside the single.php or page.php files of your WordPress themes. Both files have similar content but they deal with different parts of your site - your posts (single.php) and your pages (page.php) respectively. To edit those files, you will have to log into your WordPress admin panel and go to Appearance -> Editor.
In case you would like your banner to show up above all of your posts/pages, you will have to use the following code:
<?php while ( have_posts() ) : the_post(); ?>
Then add the code of your banner. And if you want to personalize it, add CSS styling.
Lastly, if you want to have more than just one banner on a page or take advantage from more advanced functionalities, use one of the available WordPress plugins for banner management.
Explore the banner plugins in the WordPress Plugins Directory in order to find the extension that best suits your preferences and needs. When you find the perfect one for you, install it just like any other WordPress plugin.