
Adding existing WordPress Installations in Softaculous WordPress Manager
Hello,
In this article, we'll show you how to add your existing WordPress installations to Softaculous WordPress Manager.
When you manage your websites with Softaculous WordPress Manager, you take advantage of:
- Automatic plugin, theme, and WordPress core updates
- Easier access to your WordPress admin panel and database
- Easier plugin and theme management
- Easier user management
- Easier website backups, restoring, transfers, and cloning
- Website staging for testing code, updates, and upgrades
- and many more...
If you installed WordPress using the Softaculous 1-click method, the installations are automatically added.
To add manual WordPress installations to the Softaculous WordPress Manager, go to Software > WordPress Manager by BGOcloud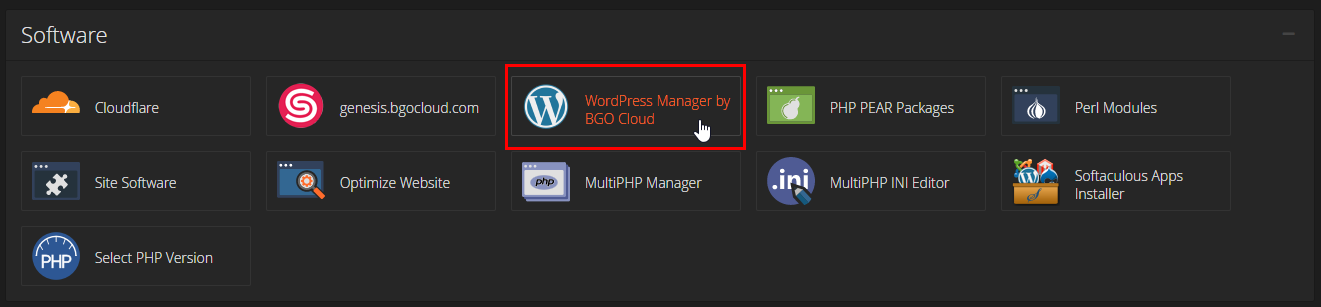
Then click on Scan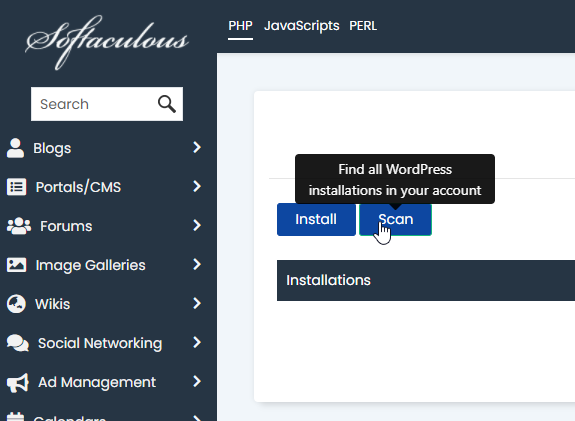
Then click on Start scanning for installations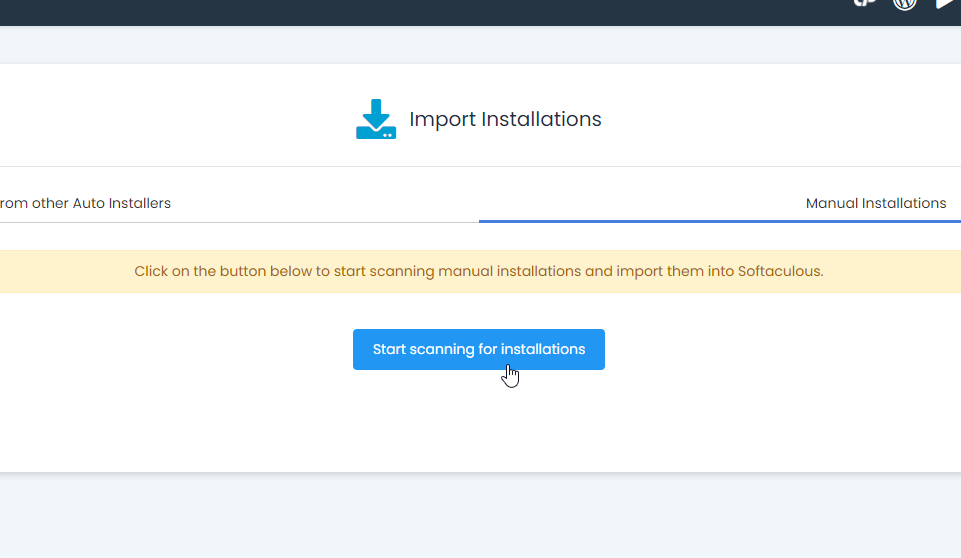
After the scan is finished, all your WordPress installations from your account should appear, ready to be managed.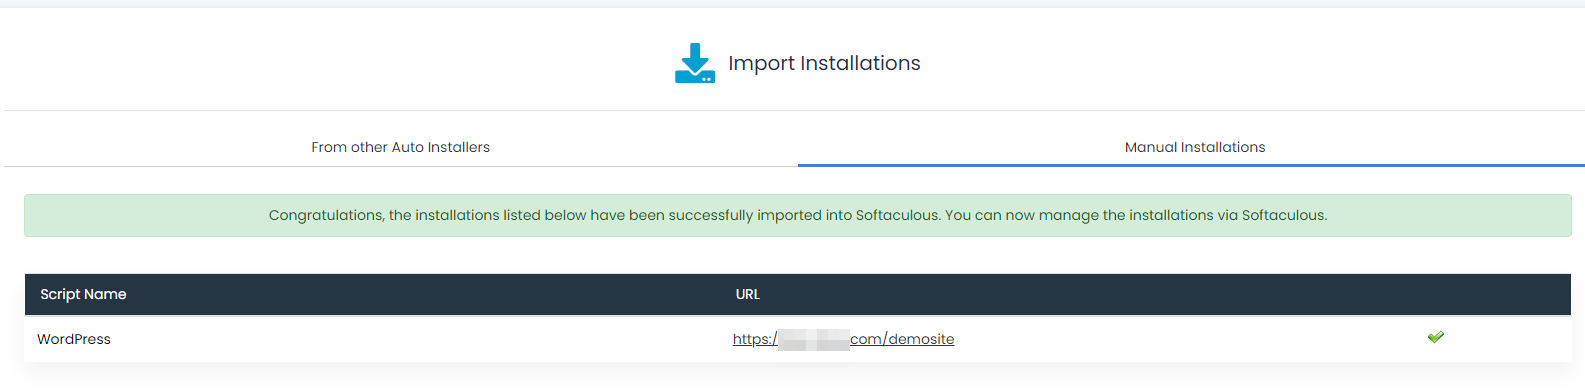
If you installed WordPress through the WordPress Toolkit, you need to unlink it from there to prevent conflicts.
To do that, go to Domains > WordPress Toolkit
Then select your site and click on detach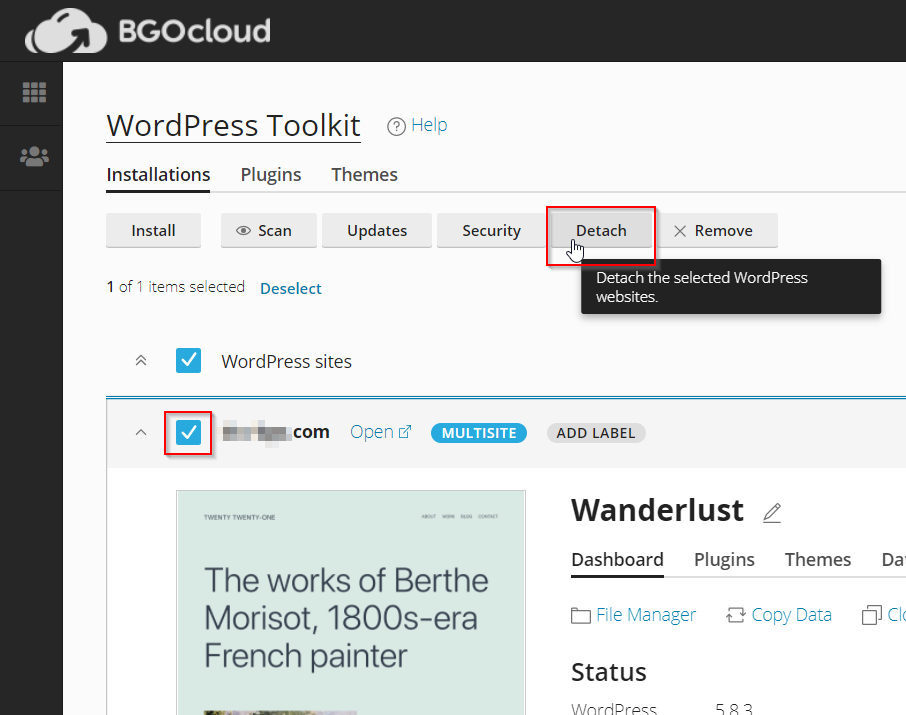
Then click on OK.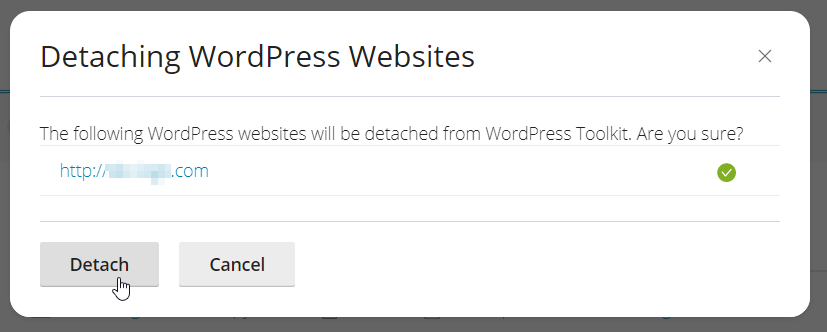
And that's it.
Now you can manage your WordPress installations with Softaculous WordPress Manager.