R1soft Backup - Restore Points in cPanel hosting
With our affordable web hosting plans, You automatically start using backup solution based on R1soft highly reliable platform.
What are its advantages?
- It is a free of charge backup solution;
- Daily backup of all files and databases for your site;
- 14 Restore points (14 days);
- One-click restore;
- Option to download files, folders or entire restore point to local PC
Here is a simple guide on how to use the R1soft Restore Points module.
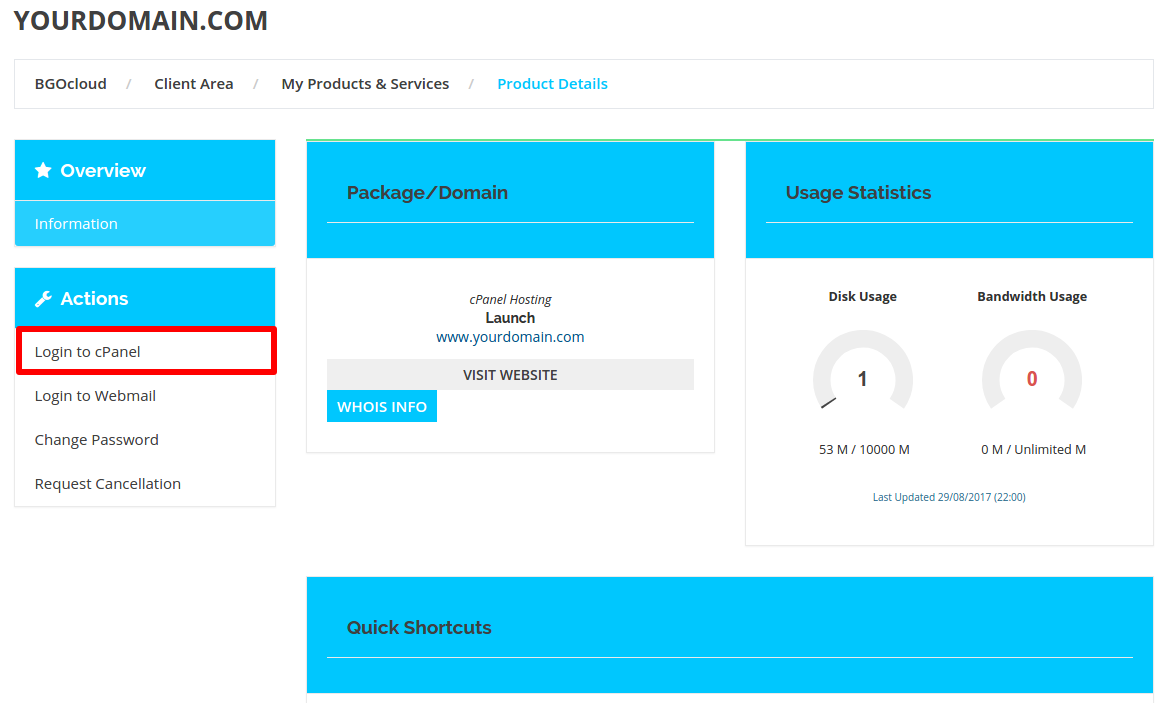
Login to Client Area or directly to cPanel
Note: The login credentials for the Client Area and the cPanel are different, you can find your cPanel login details in the Welcome e-mail that is sent to you after the service has been purchased.
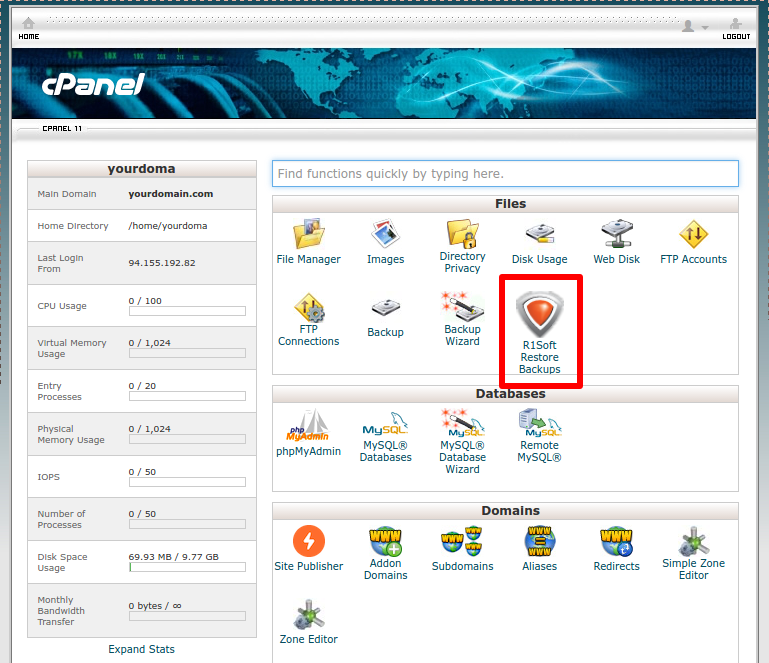
From the cPanel home screen click on "R1Soft Restore Backups" icon:
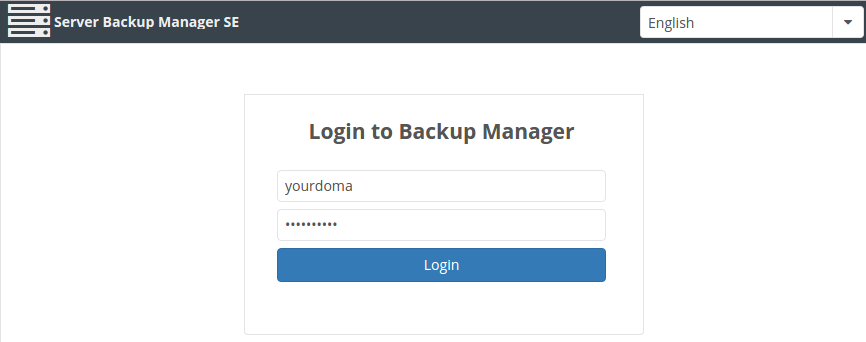
If requested, enter your cPanel credentials:
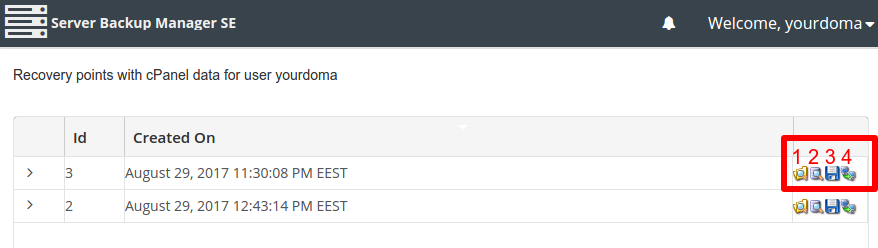
In the R1soft Control Panel you will see all available restore points created by the system.
On the right there are 4 buttons:
- 1: Restore Point Explorer - Browse the files and folders in the restore point, there could be selected specific files to be restored or downloaded
- 2: Database Explorer - Browse databases and select which one to restore or download
- 3: Archive and Download entire Restore Point
- 4: One-Click Restore - Using this option will restore the entire point back to the server, overwriting all existing files
If your file or folder has been corrupted or deleted by mistake, you can restore only this file. In this case, the Restore Point Explorer should be used:
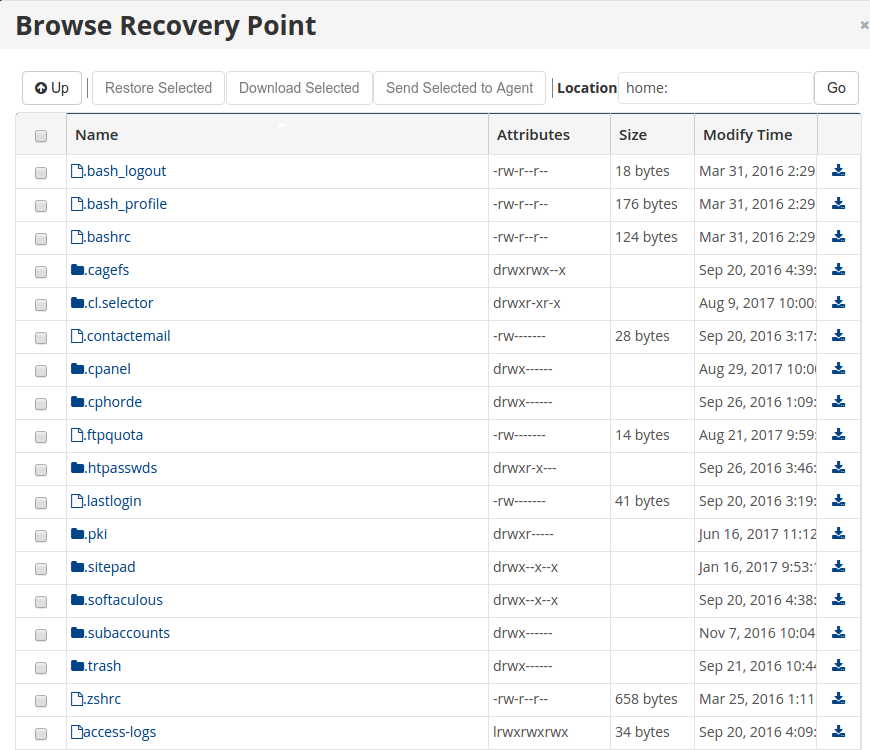
Select the file or folder which You want to restore:
Then click "Send Selected to Agent" to start the restoration procedure:- It is possible to download the files to your workstation, review or edit it and then manually upload it back via FTP. In that case, click on "Download Selected"

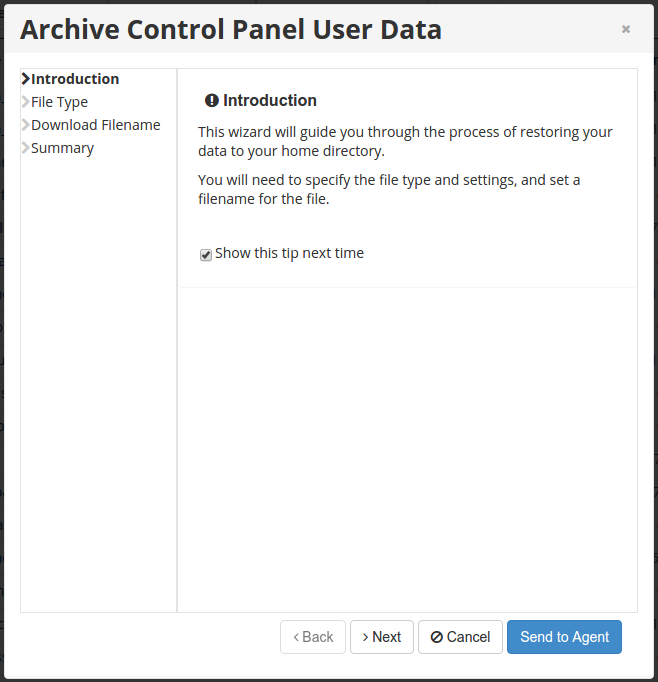
On the next screen You can just click on "Send to Agent" to proceed:
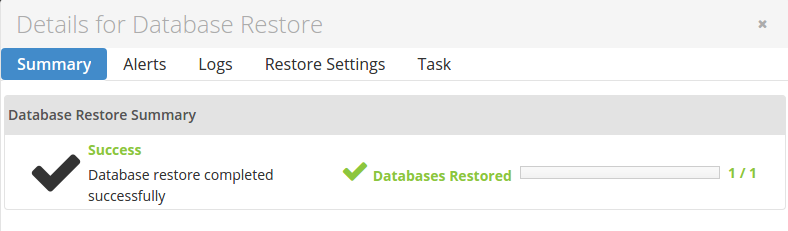
After a short time, depending on the size of the files you are restoring, the process will finish with screen like this:
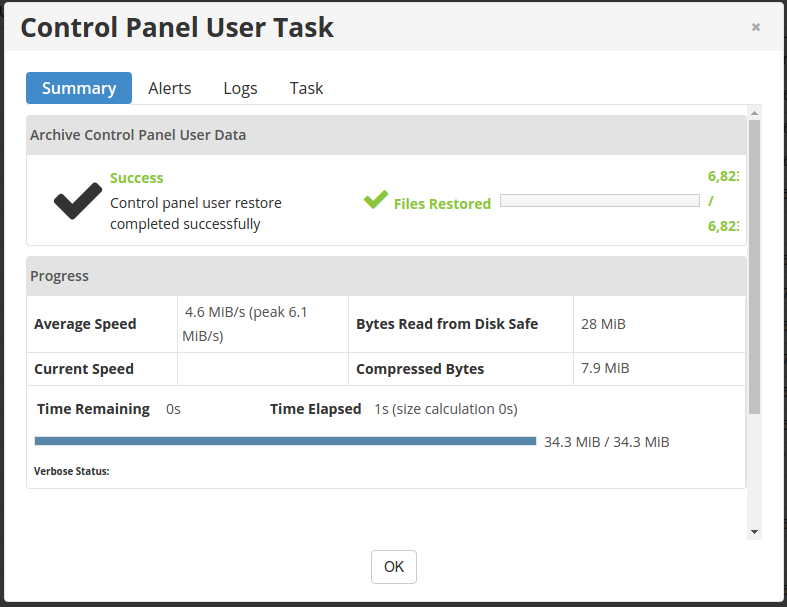
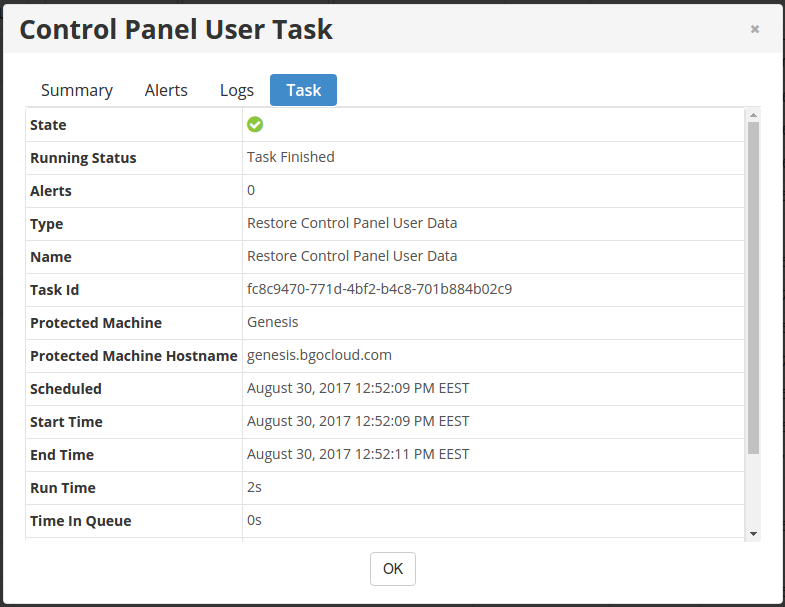
In the "Task" tab you can find additional information about the completed restoration:
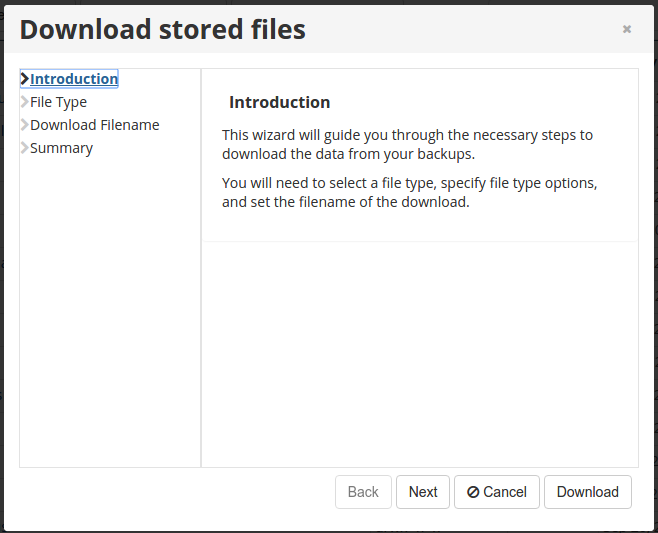
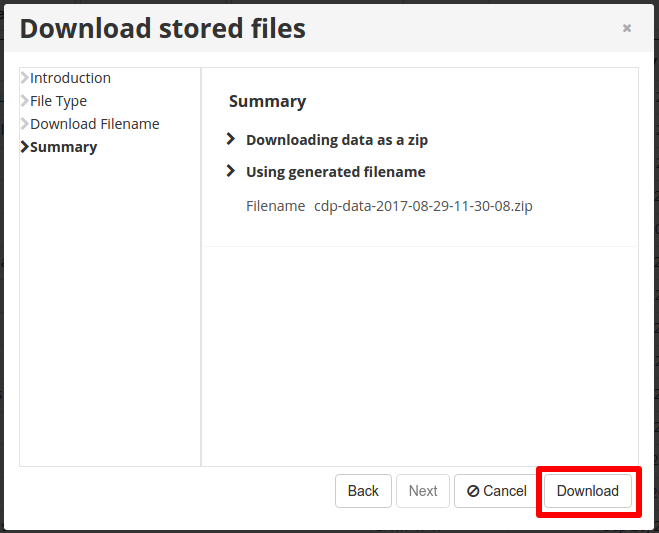
In case You want to download a previous version of files or folders available in the restore points, You can do it by selecting "Download Selected" in the Restore Point Explorer, the process is similar, but instead of overwriting files to the server, the system will create zip or gz archive and save it to your download director. From the Initial screen you can click on "Download" button right away and the default naming and archive options will be applied and the download process will start immediately. If You like to customize the archive, click "Next":
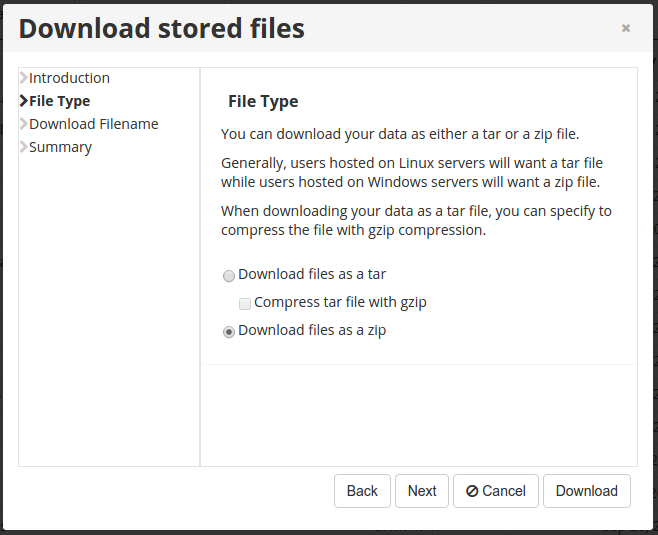
Select File Type:
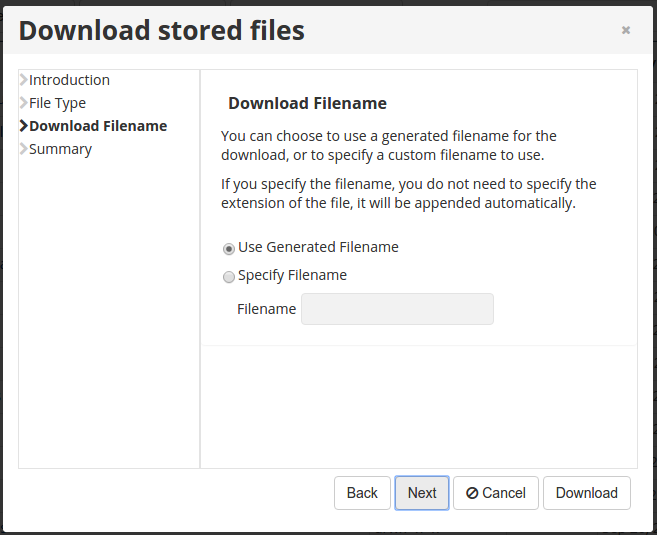
Select filename:
Review the settings and click "Download":
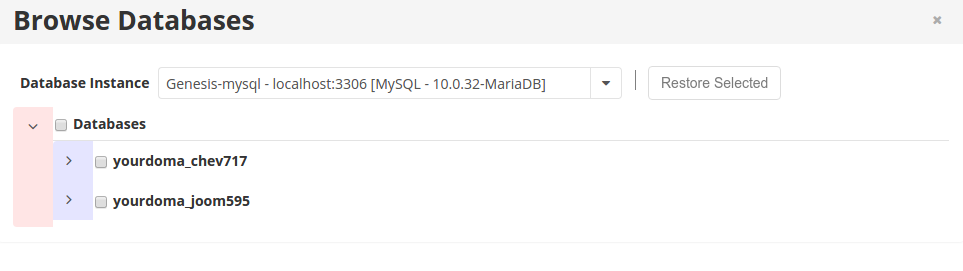
In case You need to restore a corrupted or deleted database, from the main restore point menu, select button 2: "Database Explorer":Select the DB you want to restore and click "Restore
Selected" button:
Review the restoration process: